Welcome back to another edition of Into the Kitchen with MMJ, where I cook 100-year-old recipes and marvel at how good they are! As usual, I will be taking my recipes from the cookbook compiled by Mother Mary Joseph in the 1920s for outgoing Maryknoll Missioners. This time we will be looking at a few Summer-themed recipes. I will start by presenting each dish and sharing what we thought of it. Each section will also include tips for making the recipe at home if you’d like to try it out!
If you would like to check out the other editions of Into the Kitchen with MMJ, click the link(s) below:
Picnic at Maryknoll
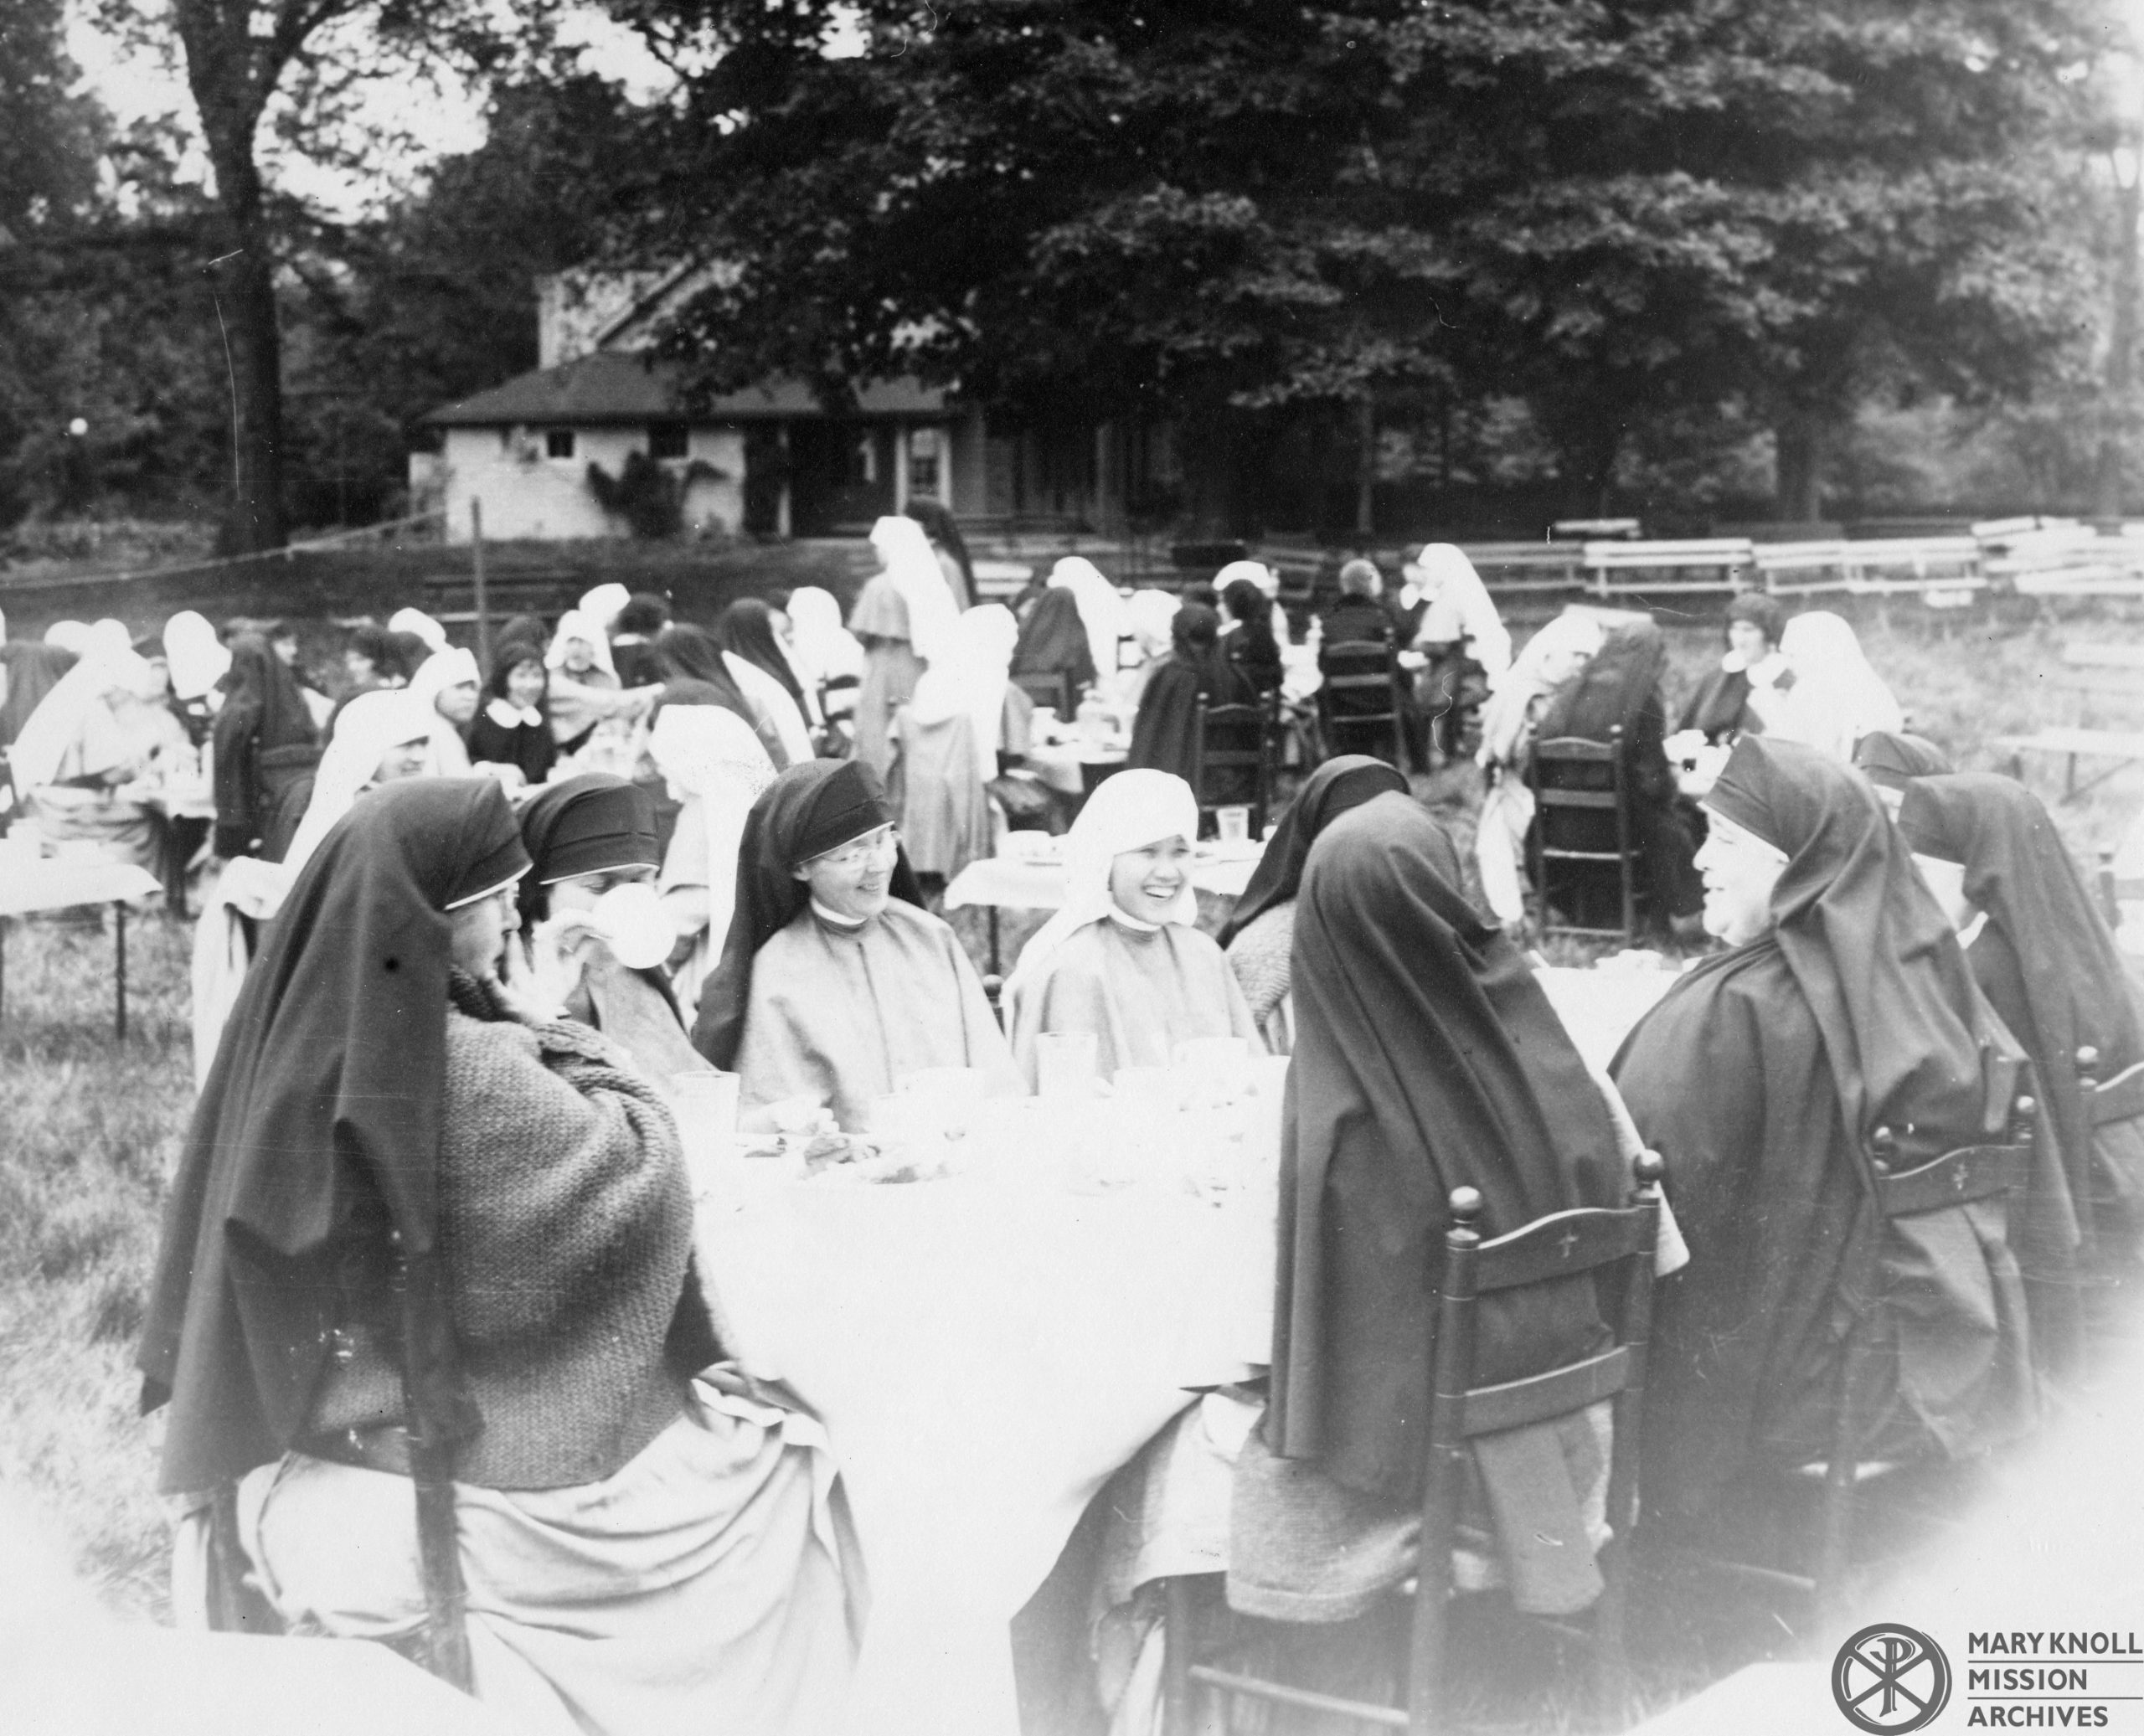
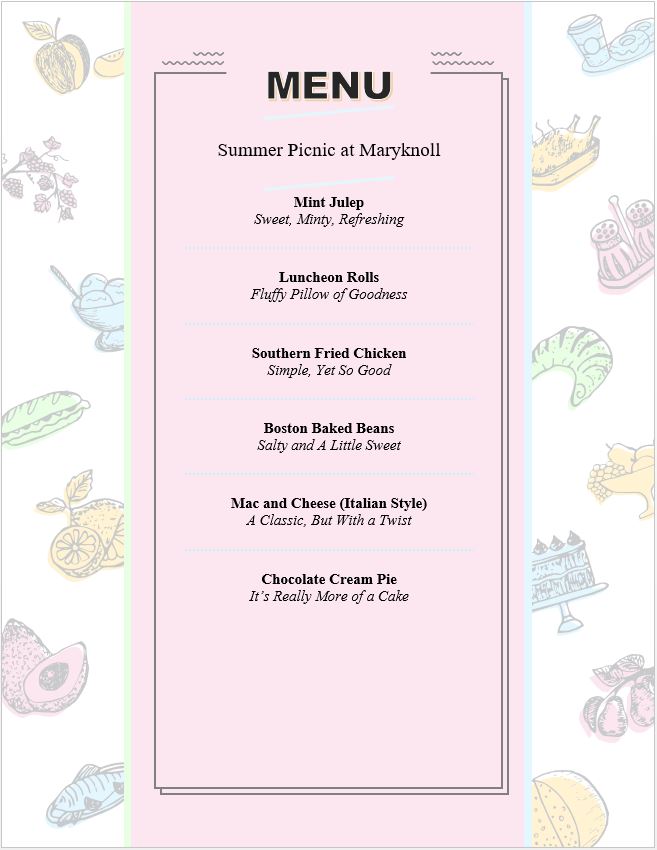
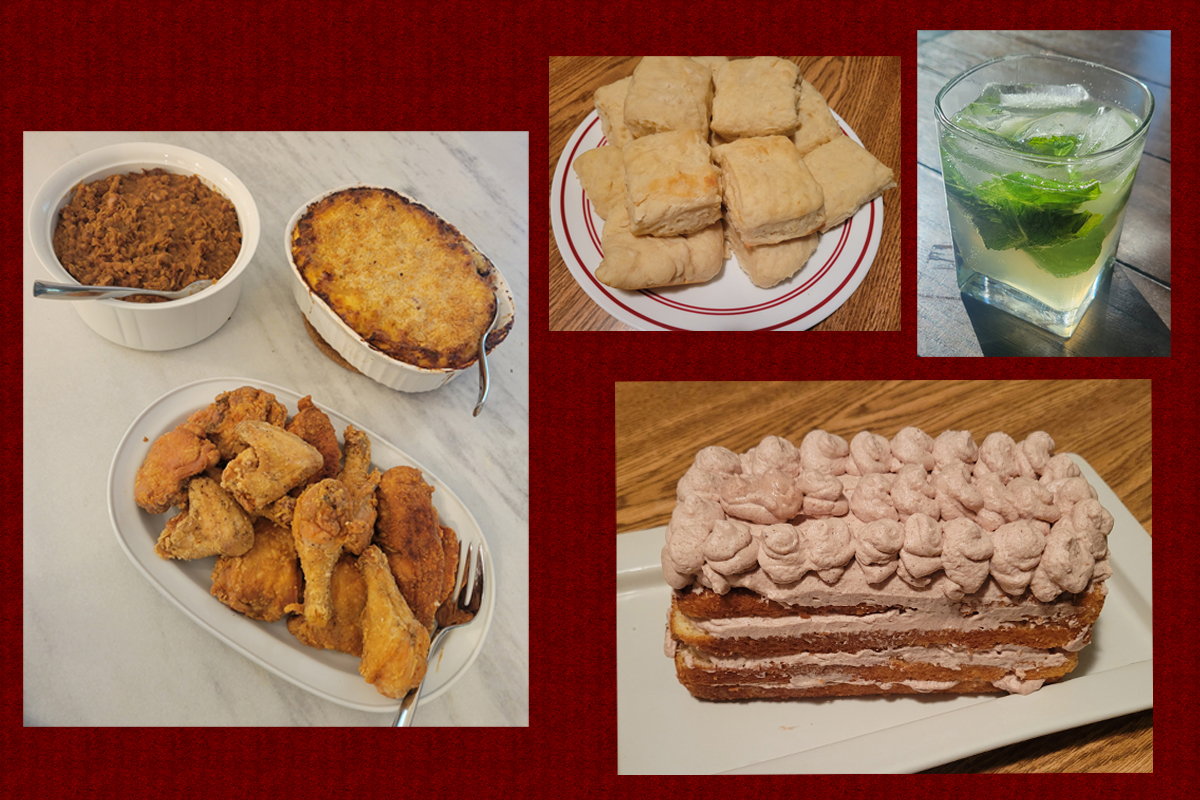
When I was looking for more summer themed recipes, my mind went to an outdoor picnic with friends. I searched through the cookbook and pulled recipes I think would be good for a Southern-style picnic on a bright and sunny day! I have put the full menu to the left for your viewing, with quick descriptors of each dish. Without further ado, let’s dive right in!
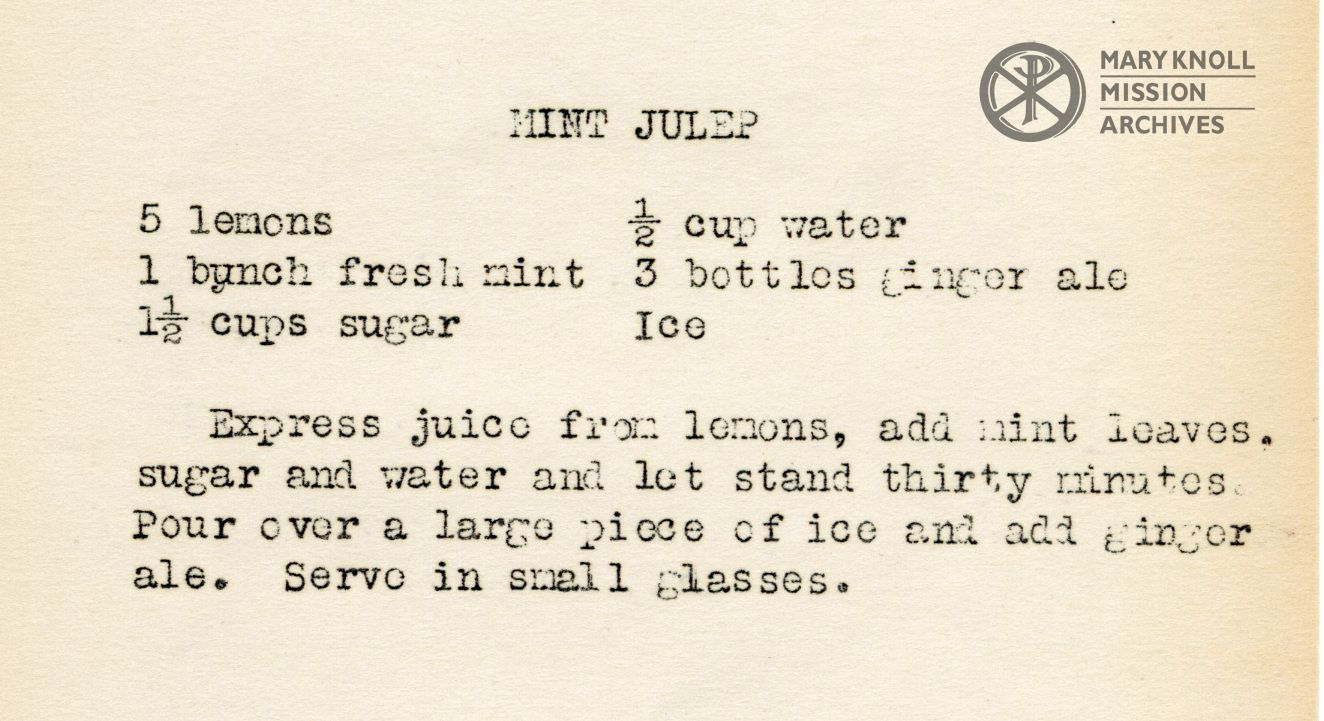
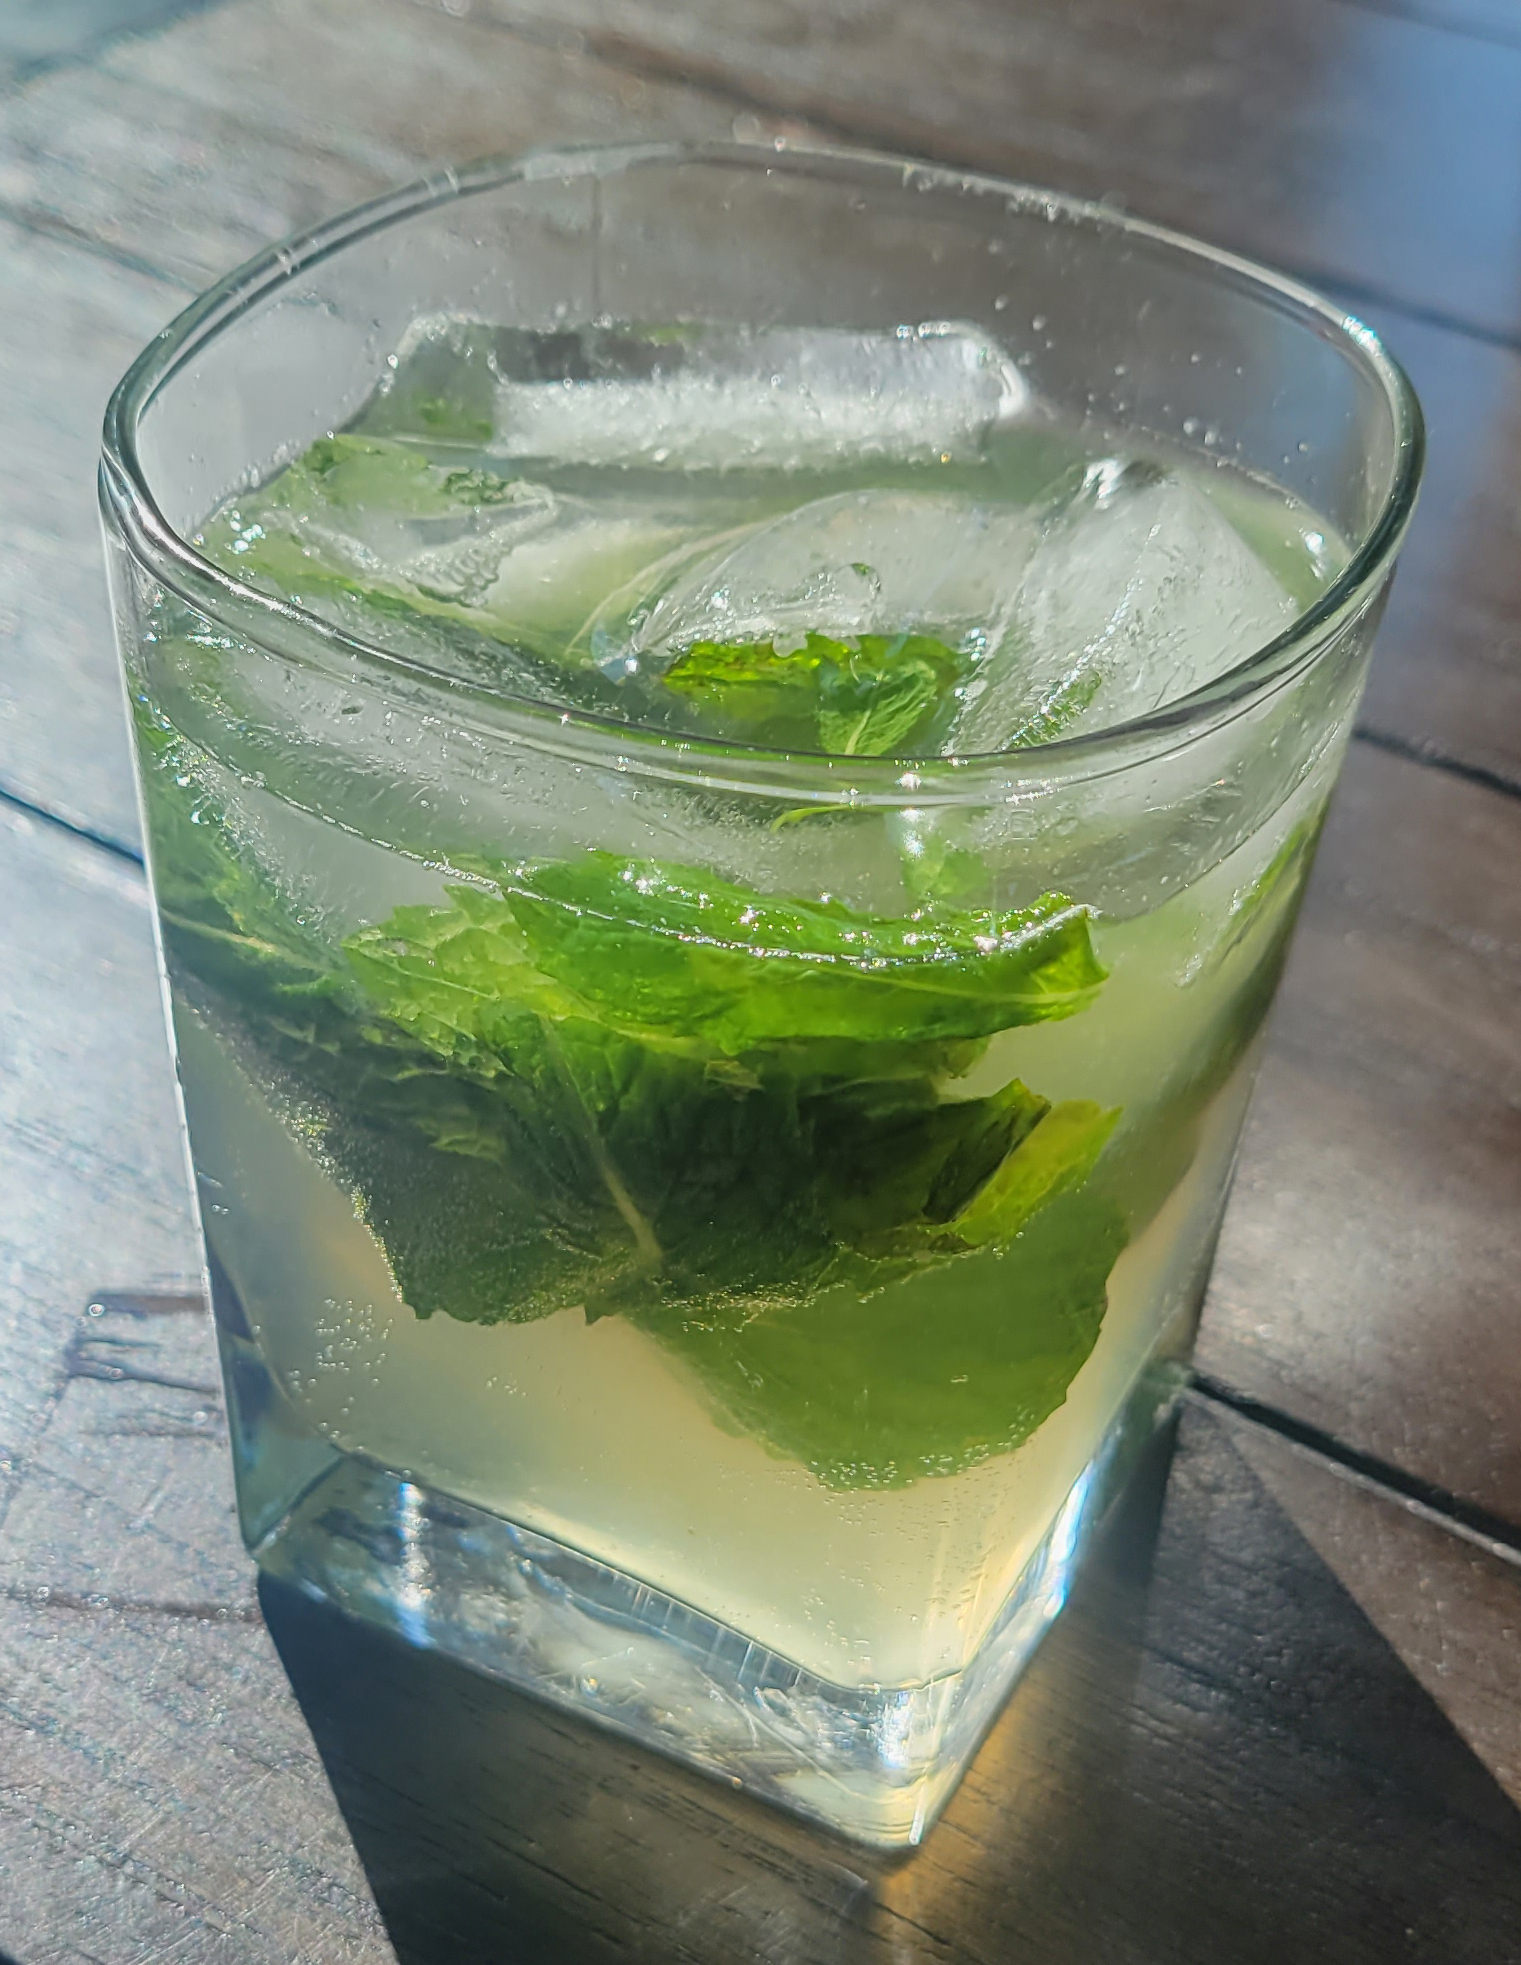
Mint Julep
Fresh, Minty, and Quite Sweet; MMJ’s Mint Julep is great for sipping under the Hot Sun.
What Did We Think?
What a refreshing drink, and even non-alcoholic to boot! While we all agreed it was definitely sweet, it would be great for sipping on a hot summer day. The mint is not overpowering as it sometimes can be with modern minty drinks. The mint also really works well with the ginger from the ginger ale. The ginger adds the needed bite that most expect when drinking a modern Mint Julep (which is usually alcoholic). I would say try to go for an old-fashioned style ginger beer, or any glass-bottled ginger ale. These tend to be less sweet and more gingery, which would better replicate the intended flavor.
Chef’s Corner
I’m not kidding when I say this is sweet. The problem is I’m not sure if it is supposed to be this way or not. Modern Ginger Ales might just be sweeter, then again the last line of the recipe makes me wonder if it is purposeful. MMJ instructs us to “serve it in small glasses”, which suggest you are supposed to drink it slowly after a meal.
If you want to make this into more of an everyday drink, I would suggest adding an additional 1.5 cups of water with the ginger ale. The sugar is necessary to help draw out the oils from the Mint, and reducing it might reduce the minty flavor. By adding additional water afterwards, the drink should be thinned out enough to be like a modern soda without compromising the flavor. It’s also possible that the large ice in the recipe is meant to naturally thin out the drink over time, meaning this is meant to be a party drink. Either way, it will be good.
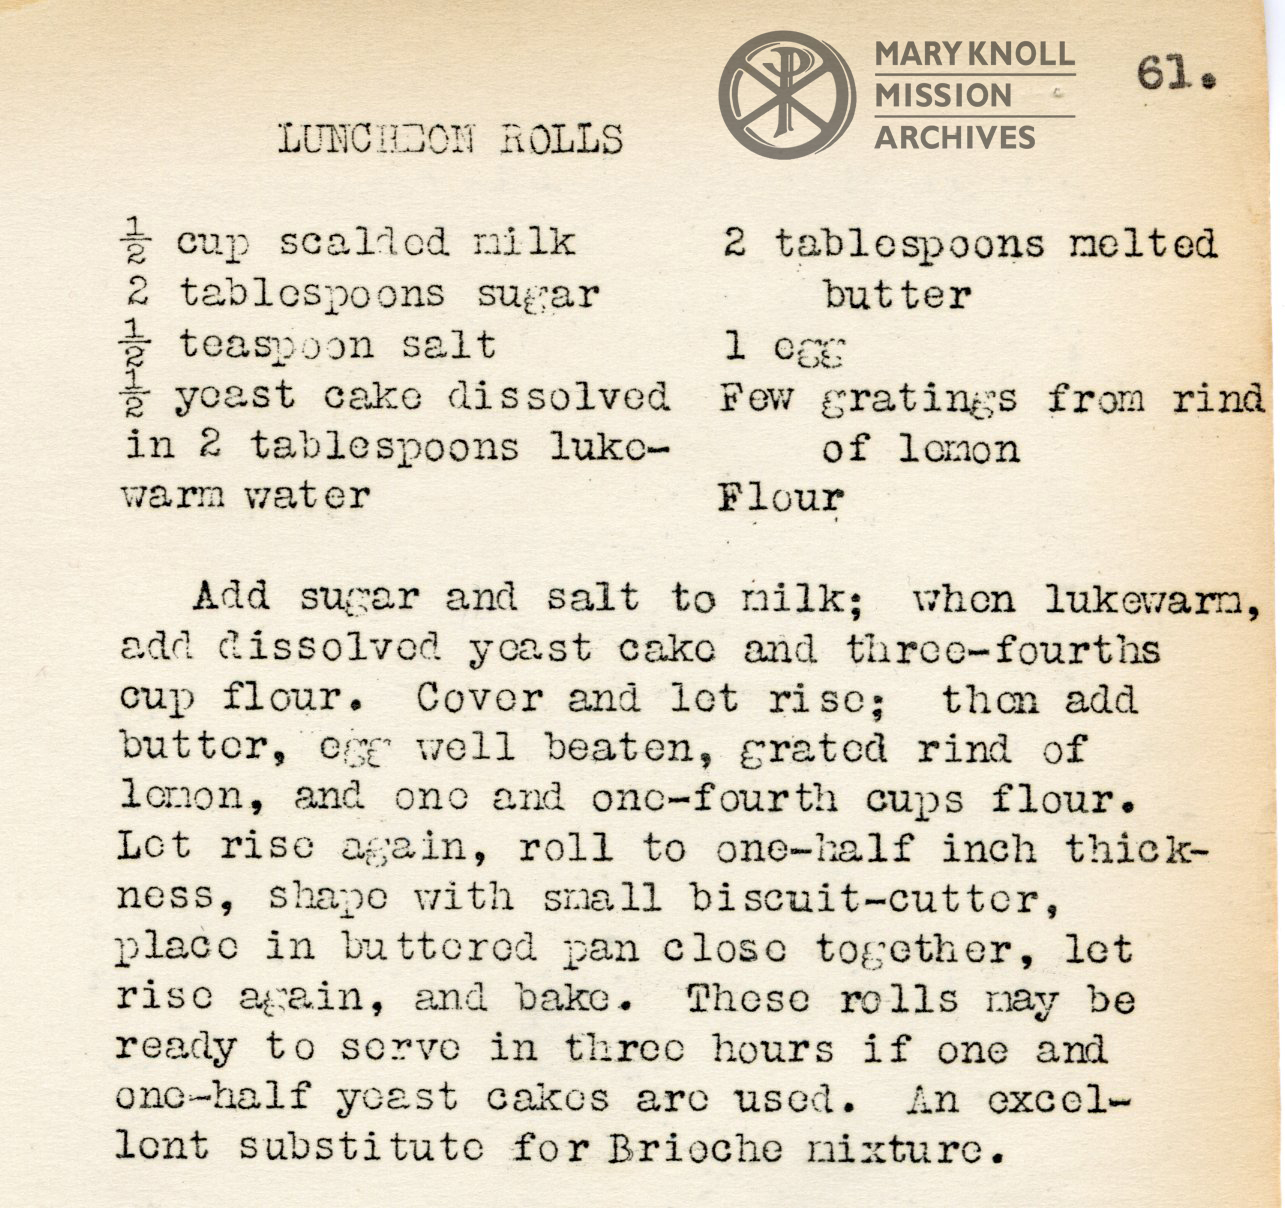
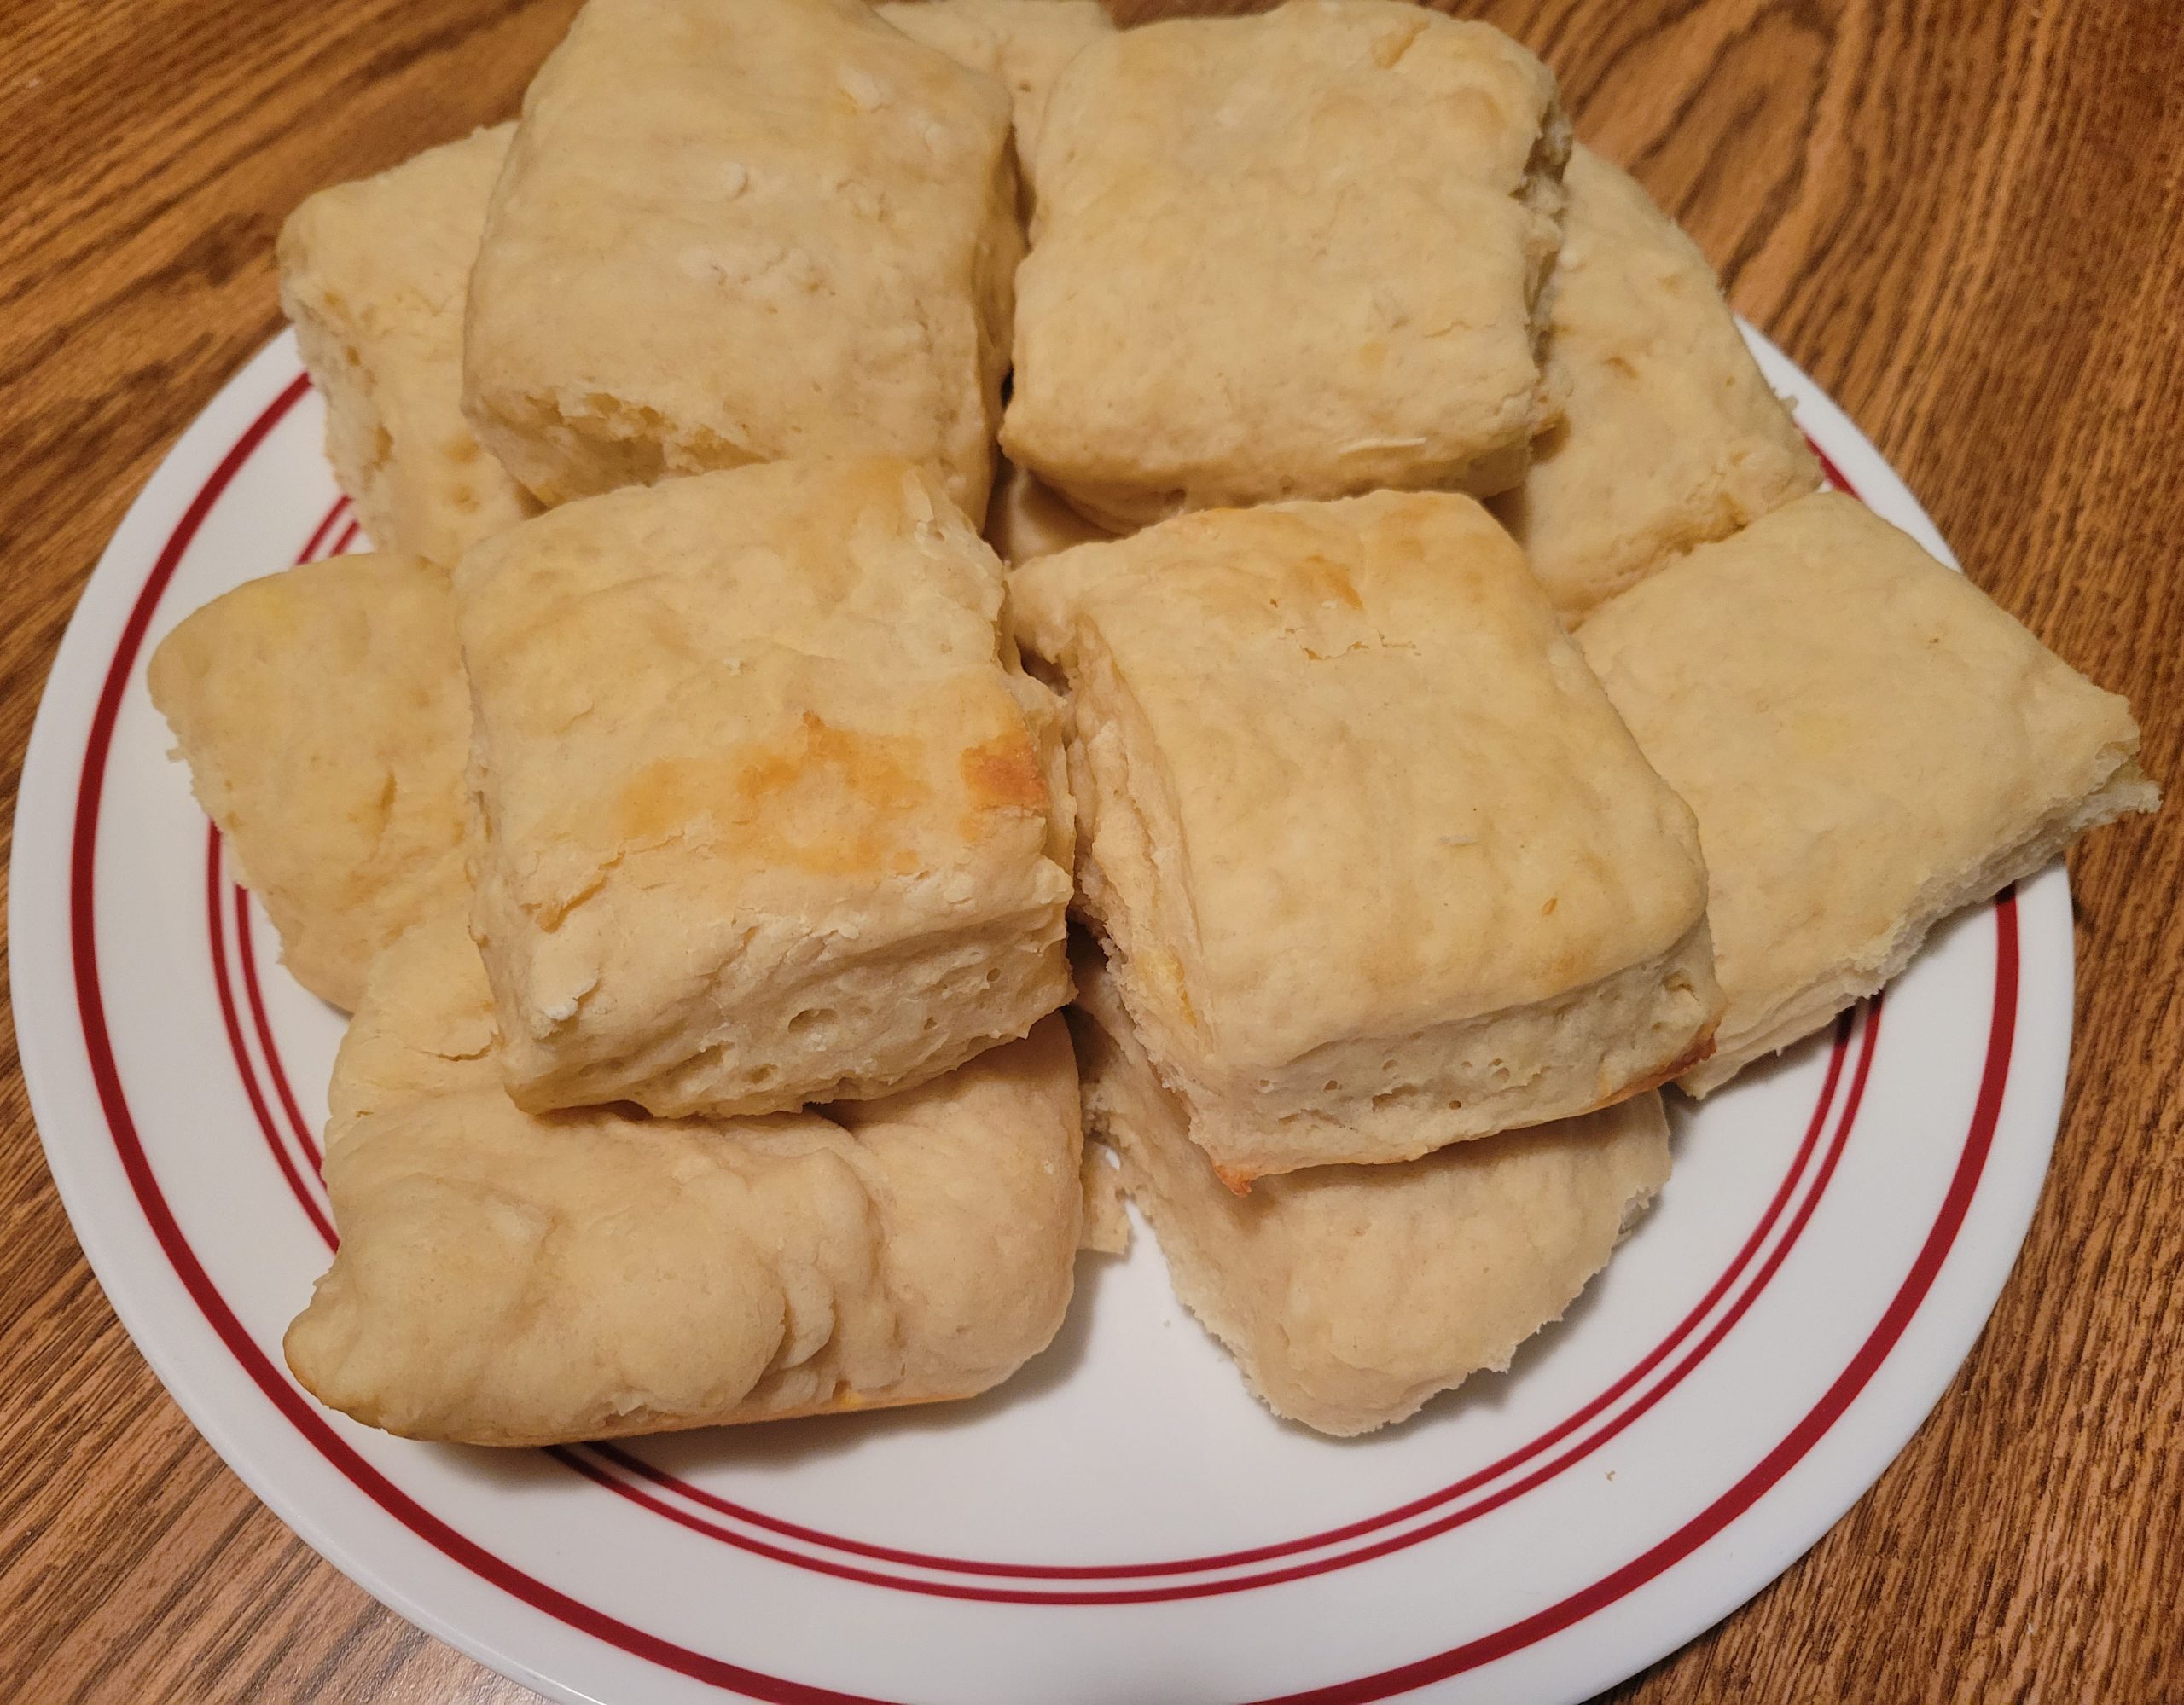
Luncheon Rolls
These rolls are soft and fluffy with a lemon note; They are great by themselves, with a little butter, or as a part of a larger meal.
What Did We Think?
These rolls really do feel like you are eating a fluffy pillow of goodness, though it probably tastes better. The use of fresh yeast creates a very light texture to the rolls, though the real star would be the lemon zest. The citrusy, slightly bitter flavor added by the zest creates a unique flavor one doesn’t expect from a basic roll. The rolls do have a bit of a yeasty flavor, but it does not really ruin the overall flavor of the roll. Overall, I give these rolls a big thumbs up!
Chef’s Corner
I really feel that this recipe is designed to be fool-proof, which I can tell because I tend to be a fool when it comes to baking. The rolls rose rather quickly, meaning they were ready to serve in a manner of hours. They rose too quickly in fact, based on what the recipe says, so let’s take a minute to talk about yeast cakes. MMJ calls for half a yeast cake, but does not identify how much that exactly is. As I discovered, fresh yeast cakes come in two sizes: small (2 ounces) and large (6 ounces). I presumed that the larger is what she meant, but after making them I wonder if it should have been the small one.
Either way, the rolls should come out fine. As noted in the recipe you can use more yeast to provide quicker results, so the only functional difference would be rise time for the dough. Also try cutting them smaller with a 1 inch round cutter would do well. I had no cutters myself so I just cut them with a knife, and they ended up being bigger than intended.
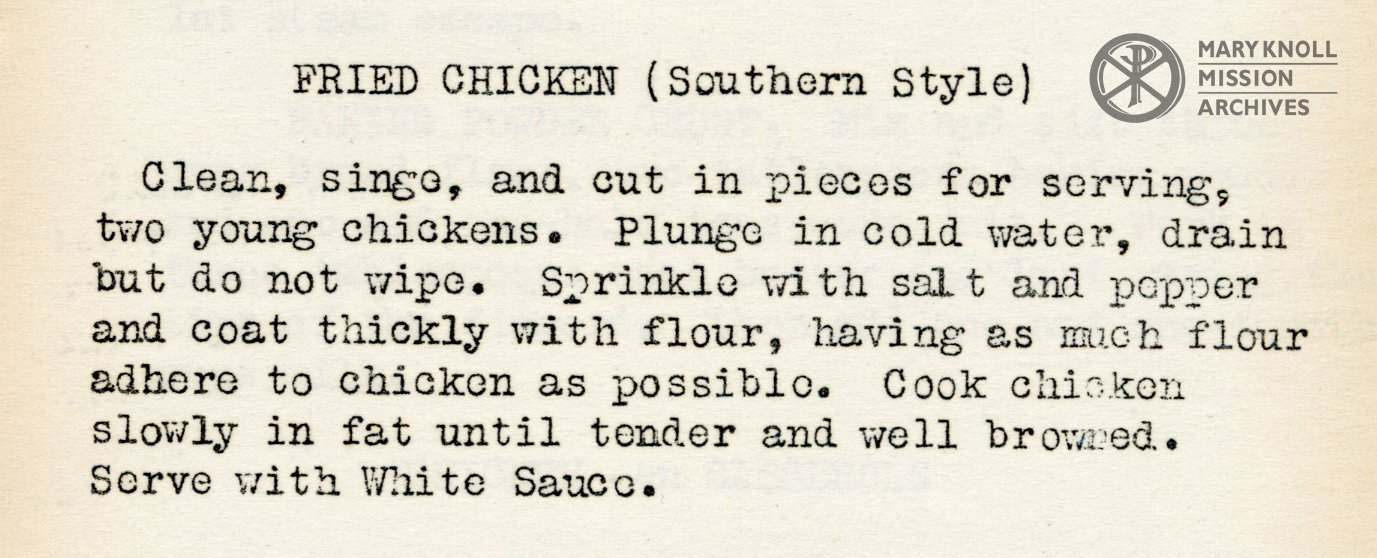
Southern Fried Chicken
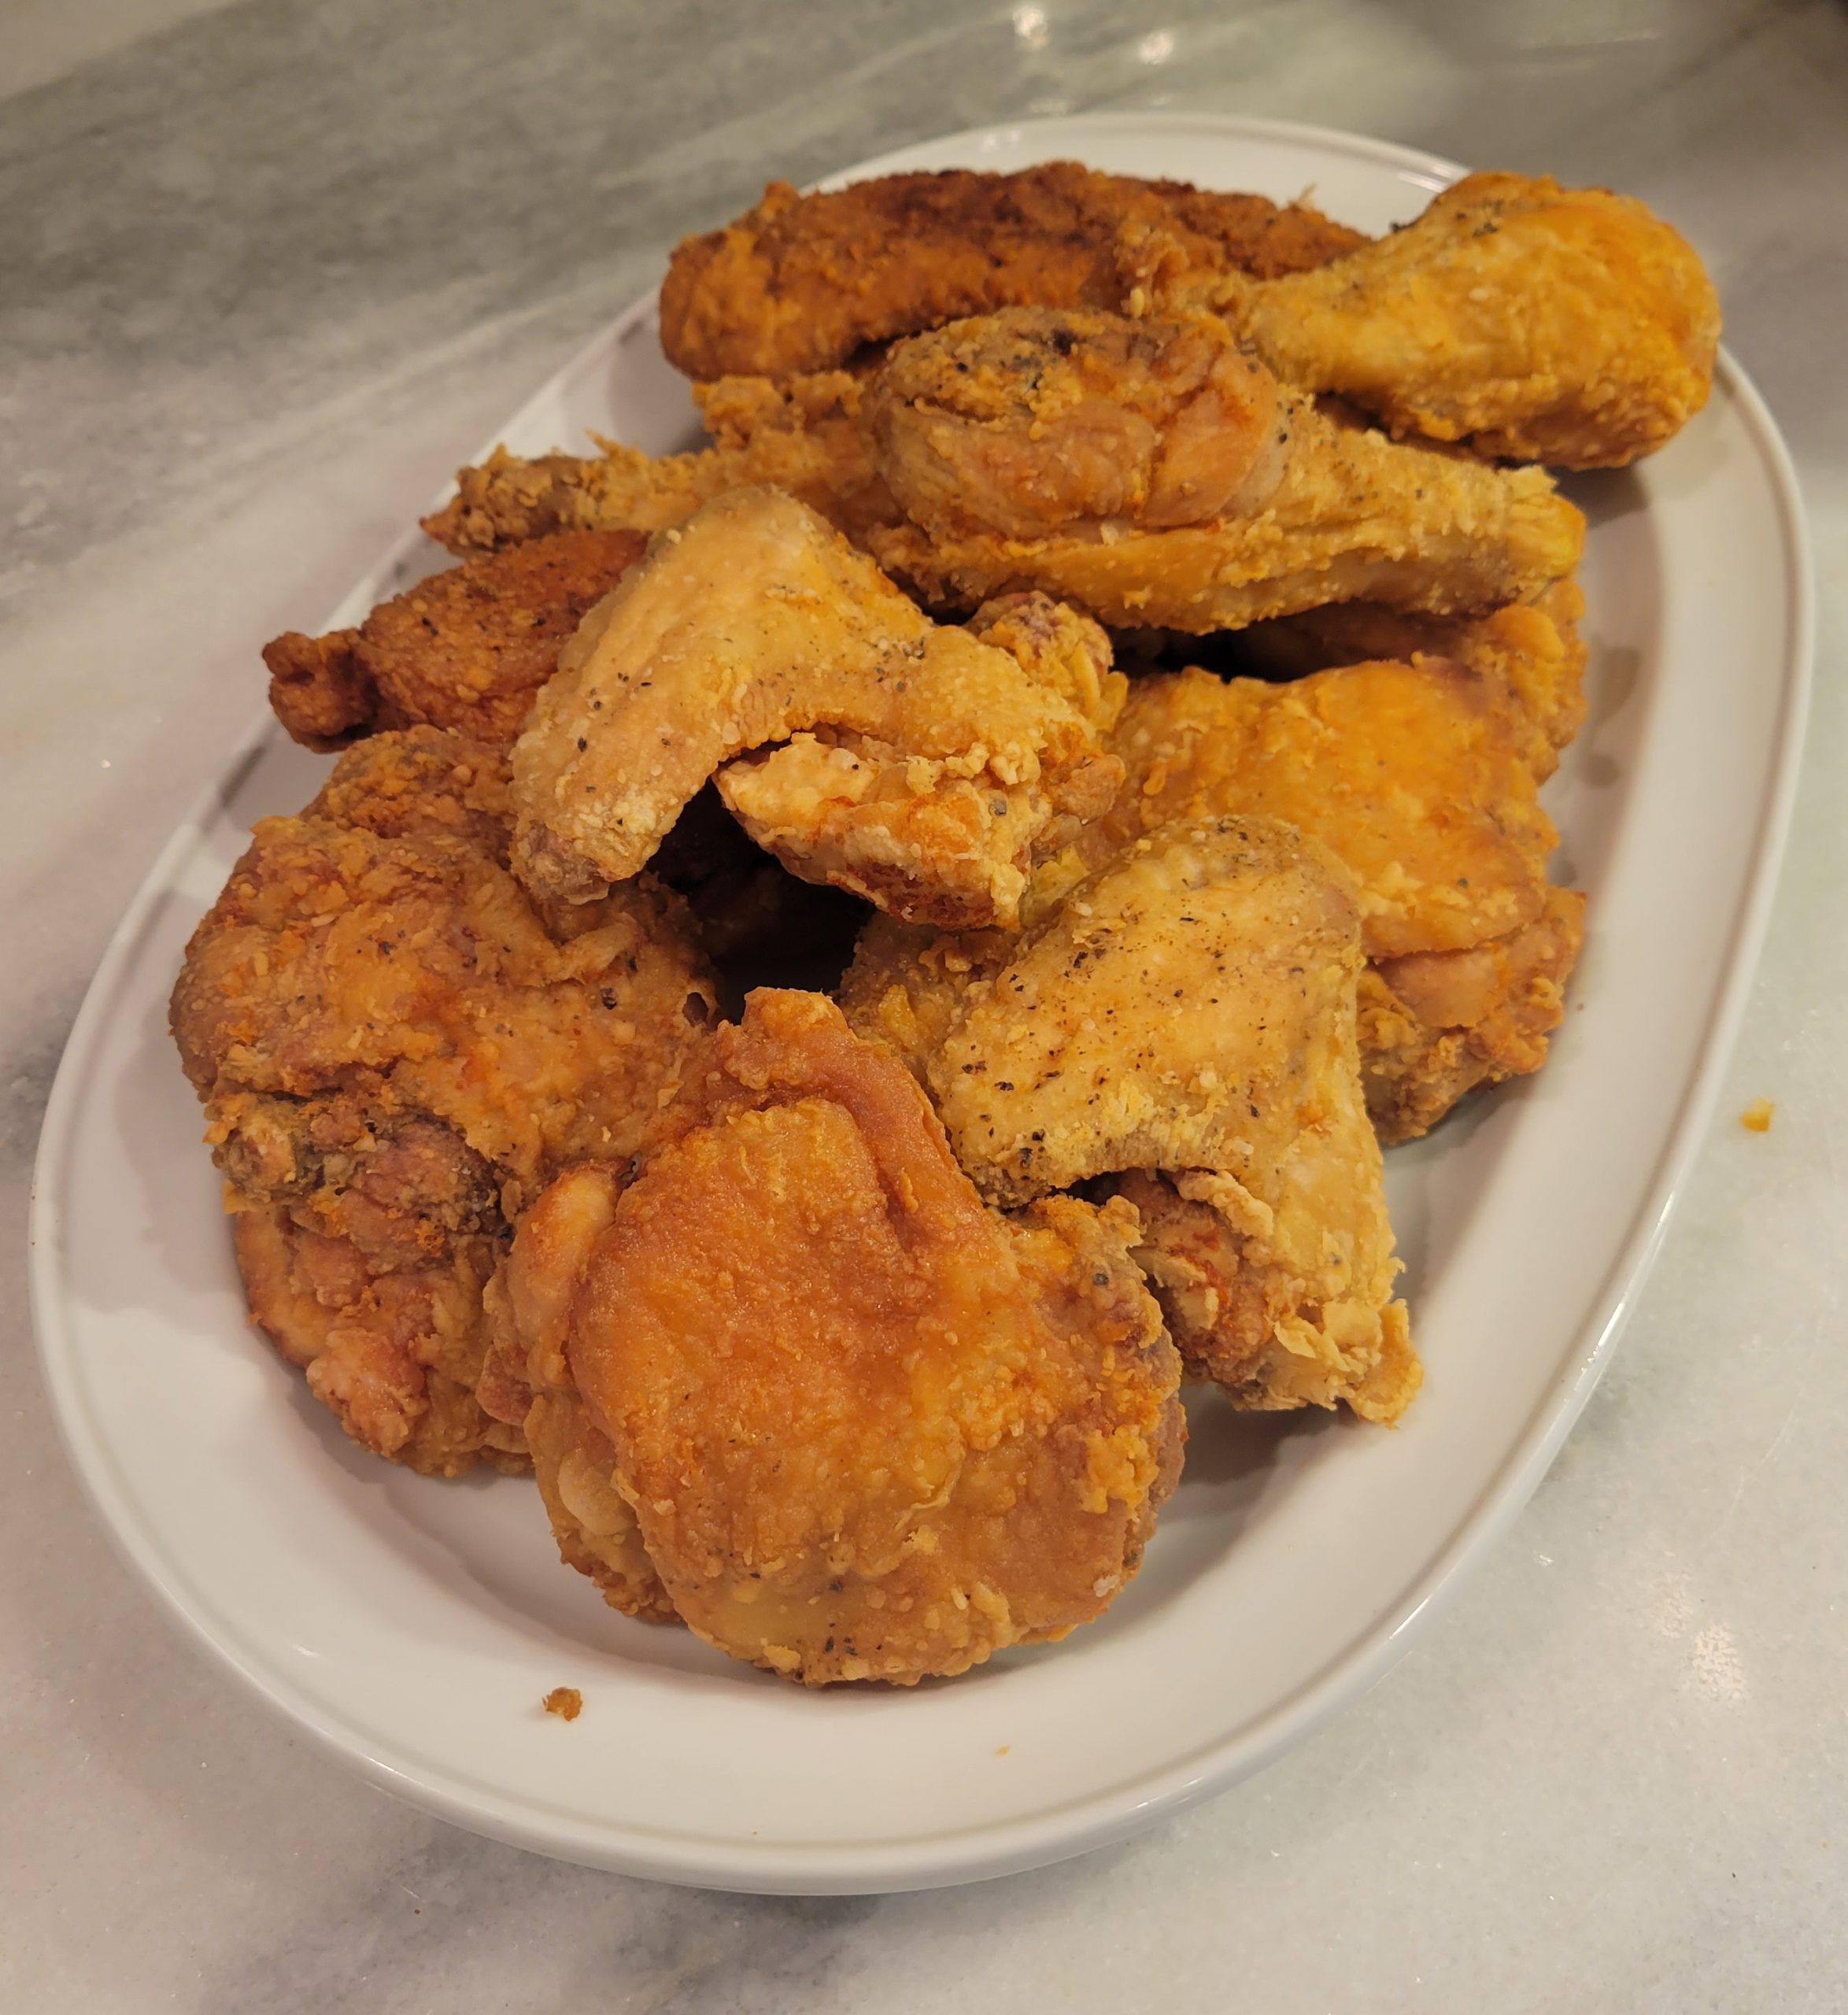
Crispy, tender, juicy, and finger-licking good; The recipe is so simple, and yet it is actually some of the best fried chicken I have ever had.
Chef’s Corner
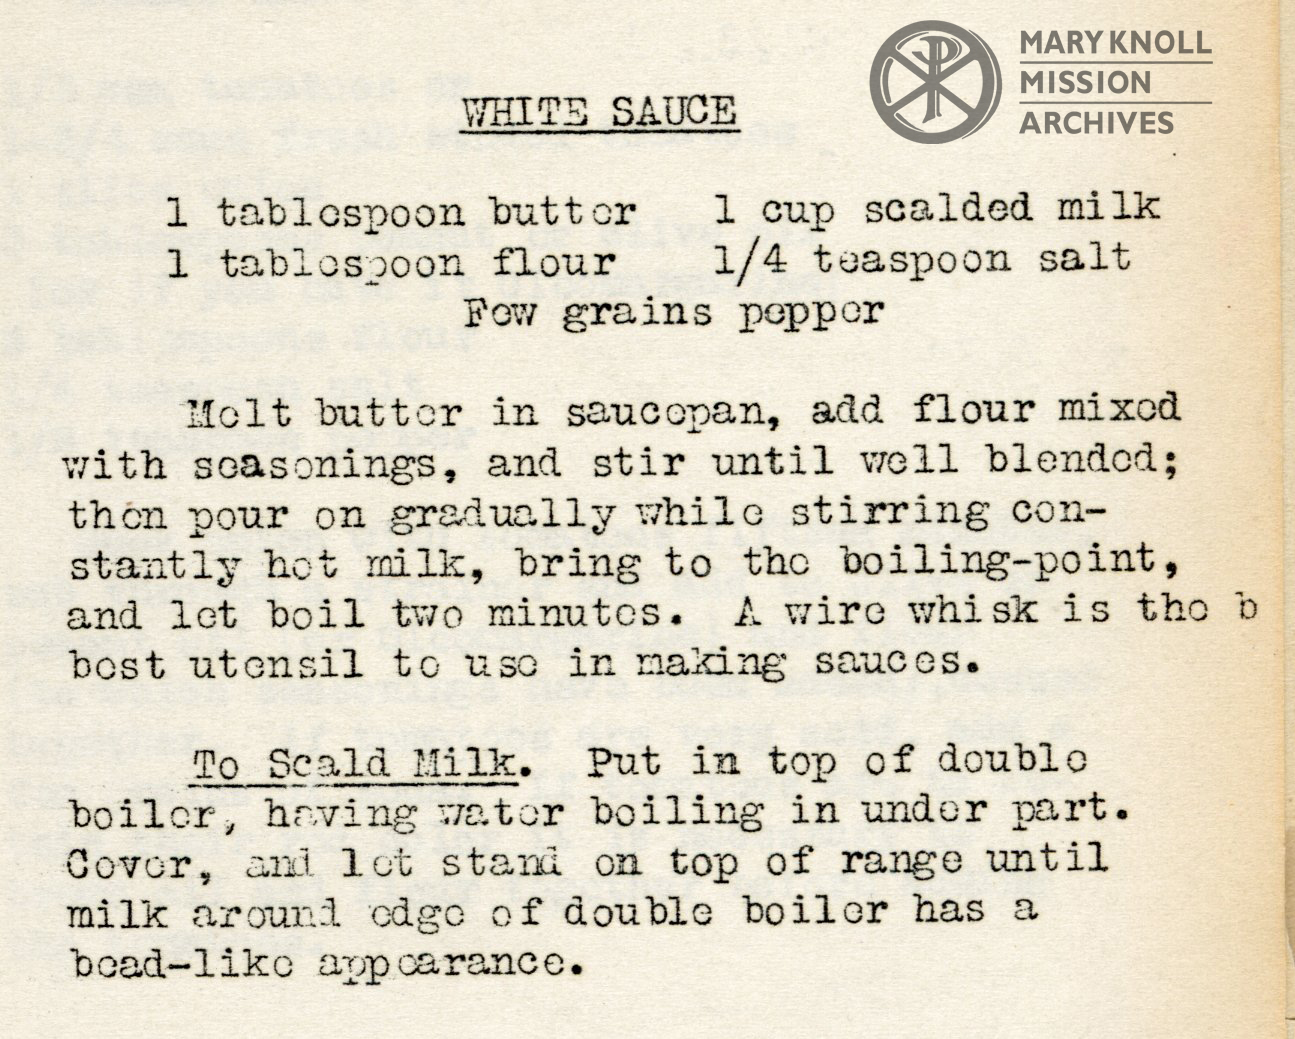
Alright, I’ve hyped this recipe enough, time to break down MMJ’s method. First let’s talk about that cold water plunge. The main reason behind it is to remove any unwanted yucky-ness from the aforementioned freshest of chickens. However, it also opens up the pores and pathways in the chicken itself, allowing seasonings to penetrate the meat. It is no substitute for an overnight buttermilk marinade, but it gives a lot of bang for your buck.
Next, let’s talk seasoning, or rather the lack thereof. Mother Mary Joseph is definitively nine herbs and spices down, and yet the chicken was not bland at all. There is actual culinary science to this, as too many flavors in one dish tend to muddle together and lessen their impact. By keeping the seasoning to just salt and pepper, the flavor of the chicken is accentuated in its purest form. Who needs eleven herbs and spices? MMJ certainly doesn’t.
Finally, let’s talk about temperature, the real key to why this came out so good. MMJ instructs us to “cook the chicken slowly in fat, until tender and well browned.” Most deep frying happens at around 350° F, but MMJ’s instruction suggests we do it much lower, at around 300-325° F. This allows the chicken time to cook through completely, while also rendering the fats to make it moist and tender. By the time the chicken is getting that golden brown, it should be done. For me, it took about 10 minutes for wings, 12 for legs, 18 for thighs, and 25 for breasts.
I apologize for writing so much about such a simple recipe, but I needed to express just how amazed I was as a chef. On paper, this recipe should be okay at best, and yet here we are… three paragraphs and one picked-clean chicken later. This recipe is the epitome of “Keep It Simple”.
What Did We Think?
No, I’m not joking. Yes, it’s that good.
I made this recipe for a family barbeque and we all agreed it was incredibly good, even potentially the best. It is so shocking because there are no buttermilk marinades, eleven herbs and spices, or secret ingredients. It simply was juicy, tender, and crispy with no bells and whistles to it. I will break down further how I think this is, but know that you just need to follow the method by the letter (besides the first step, that’s only for the freshest of chickens).
Also do not skimp on that White Sauce (called Country Gravy in the South). It adds a new dimension to something that is already so good. There is a reason Fried Chicken with Country Gravy is a Southern staple.
Boston Baked Beans
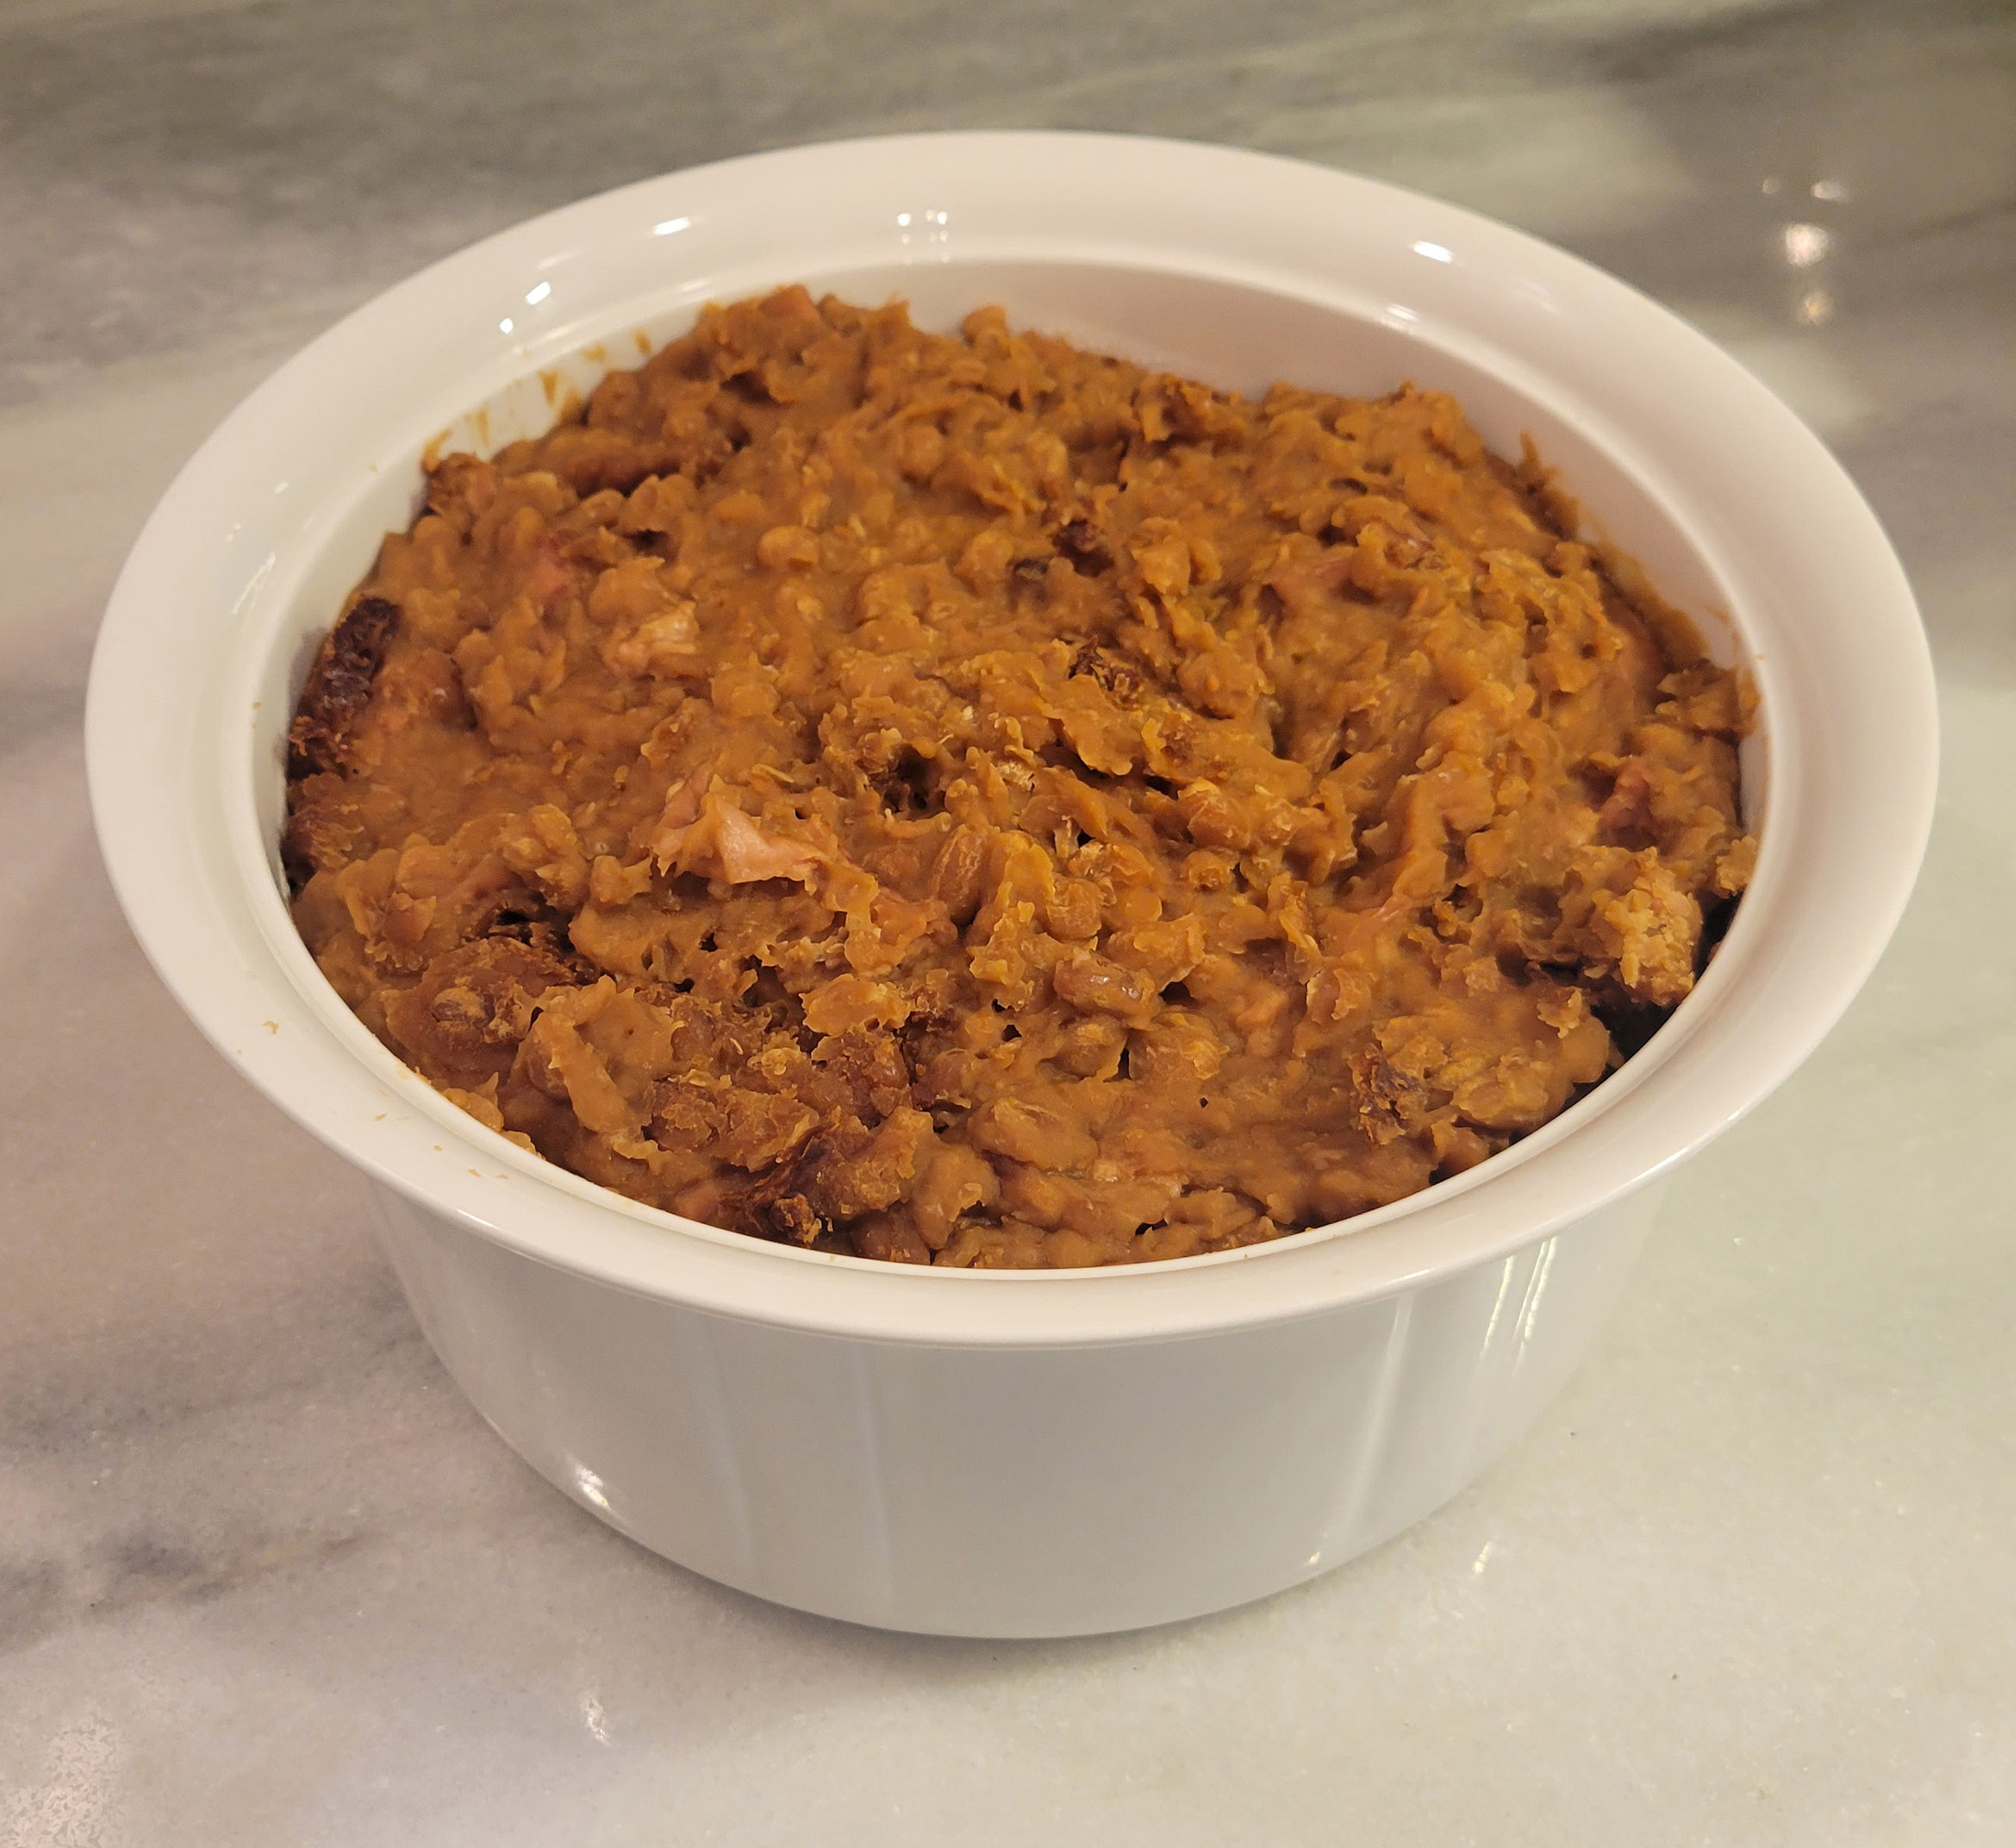
Salty, a little sweet, and very filling; MMJ keeps it simple sometimes and it always seems to work out.
What Did We Think?
This is another deceptively simple recipe. With just 6 ingredients (one of which just speeds cooking), there is not a whole lot to this recipe. As we saw with the Fried Chicken, that is not necessary a bad thing. The general consensus was that the beans were very comforting and filling, which makes sense given their long culinary history (more on that below).
I think what really works with MMJ’s iteration is that the flavors are well balanced, not being too salty or sweet. The diced salt-pork adds necessary bursts of flavor, completing the dish. This recipe works well as a side dish, or as a complete meal.
Chef’s Corner
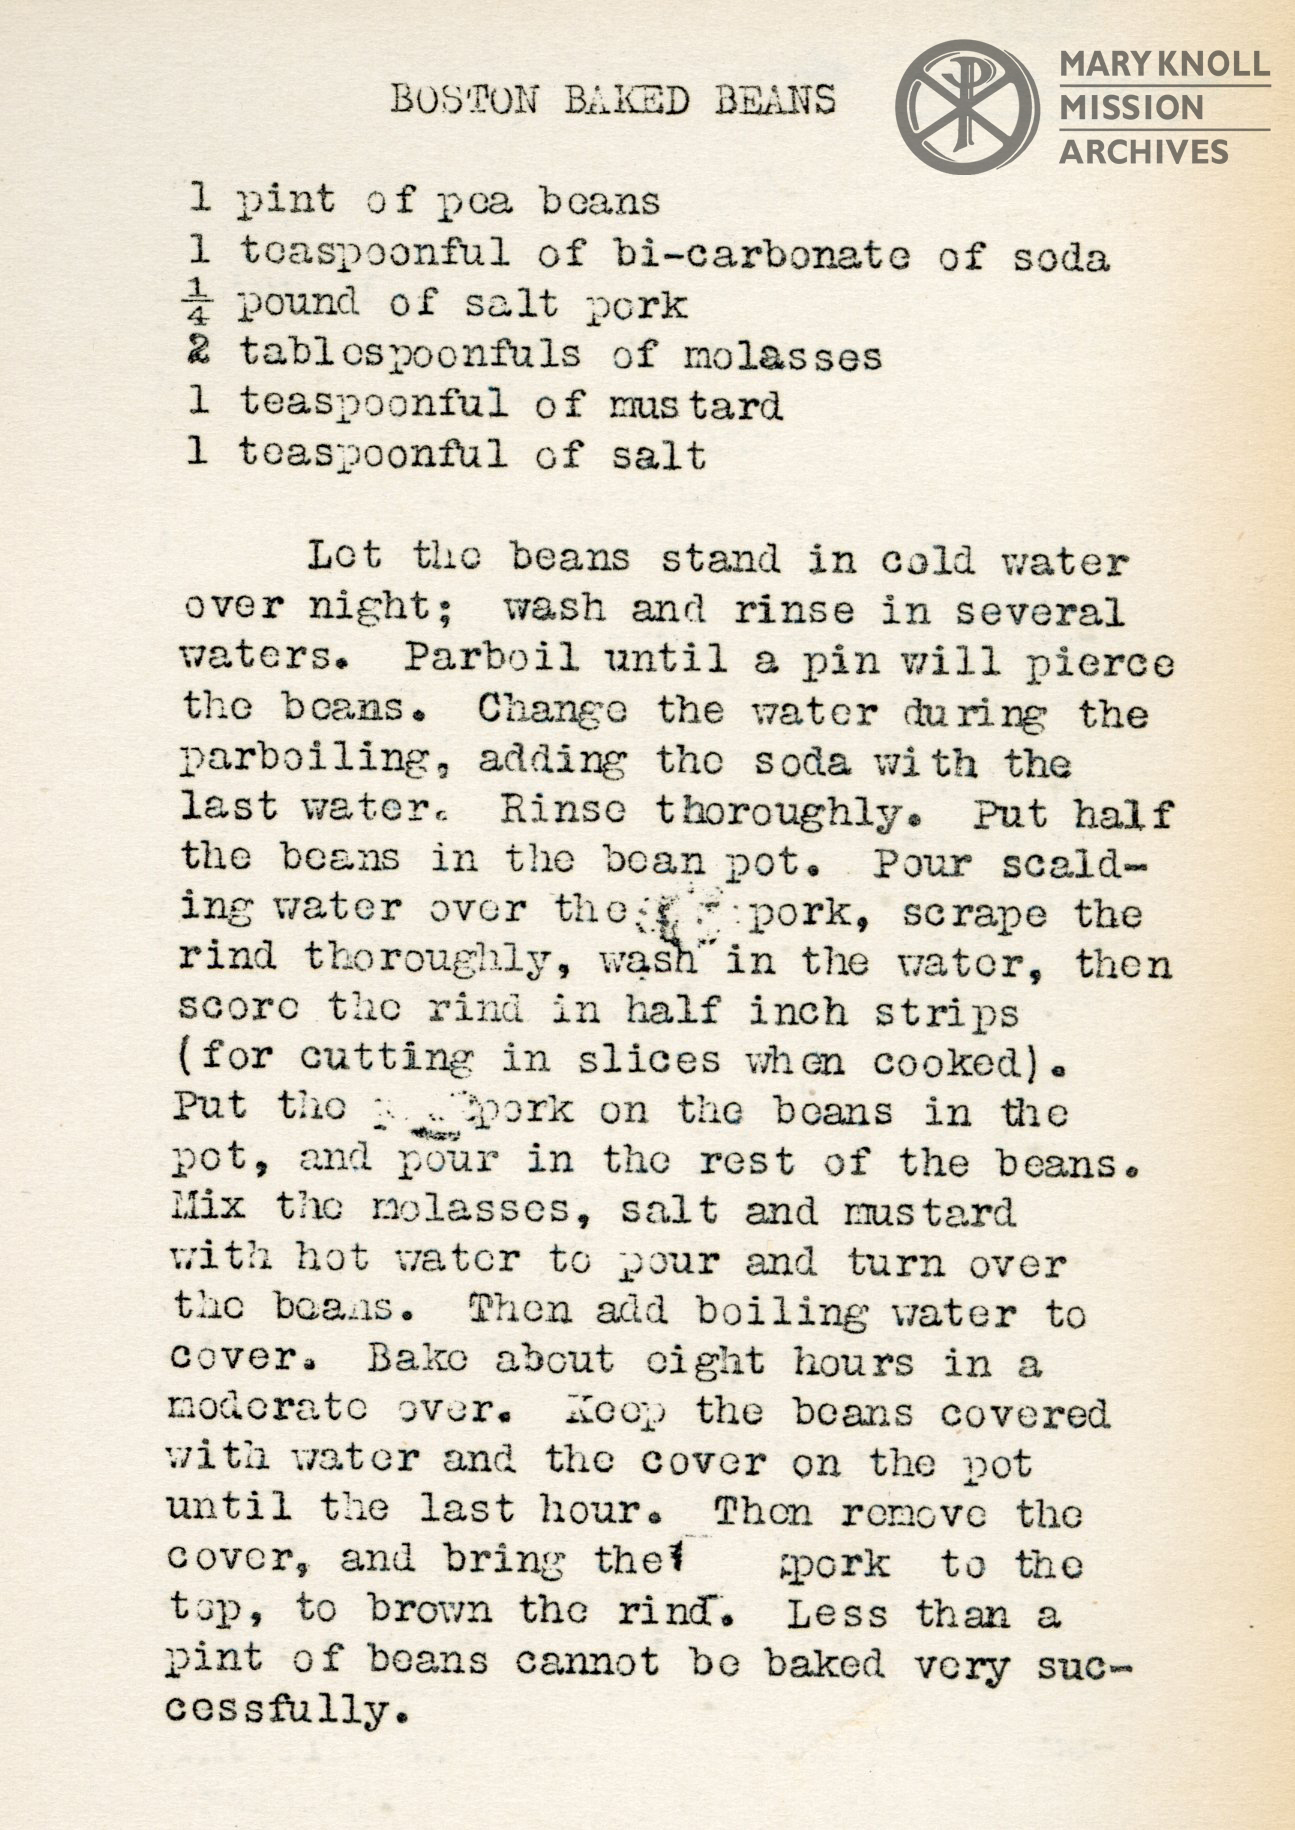
I have a few notes for making this recipe, starting with cooking the beans. I highly suggest you use dried beans, though canned can work in a pinch. The reason being that if the beans get overcooked (which I did), then everything tends to get mushy. You want the beans to mostly hold their shape, but be soft when eaten. What is important is the first par-boiling step.
First off, you don’t need to wash your beans multiple times, as that happens before they even get to a store. All you need to do is a good overnight soak, and then put the beans in fresh water to par-boil. You should change the water before adding the bi-carbonate (IE baking soda), but that is mostly to give it an easier time to tenderize the beans. This is where you need to be careful, because this is where I overcooked my beans. I’d suggest you cook the soaked beans for about 20 minutes, then add the bi-carbonate, and finish cooking for only an additional 5-8 minutes. This should give you the desired doneness after baking.
One final note: You don’t need to rinse and scrub the salt pork you can get in a grocery store, as it won’t have a salt-crust. You can also substitute with Bacon, but the smoky flavor won’t give a very authentic feel for this recipe (though it would still be delicious).
Some Interesting History
Boston Baked Beans actually has an interesting culinary history that I want to share here. Baked Beans as we know it originates back to 17th-century Puritans, who wanted a dish they could begin cooking on Saturday and consume on Sunday. This way they did not have to labor on the Sabbath, an important part of their belief system. Since Puritans were the leading members of the English colonization of Massachusetts, the dish became popular in the area. Fast forward to 18th-century Boston, which became a major manufacturer of Rum and required importing a lot of Molasses. With Molasses in abundance, the ingredient entered the household as an everyday cooking ingredient. Dishes like Boston Baked Beans and Boston Brown Bread are named so due to molasses being a primary ingredient in the recipe. Boston Baked Beans is this unique combination of a hearty dish, using stable ingredients like dried beans and salt pork, with molasses to add a rich, sweet flavor.
Mac And Cheese (Italian Style)
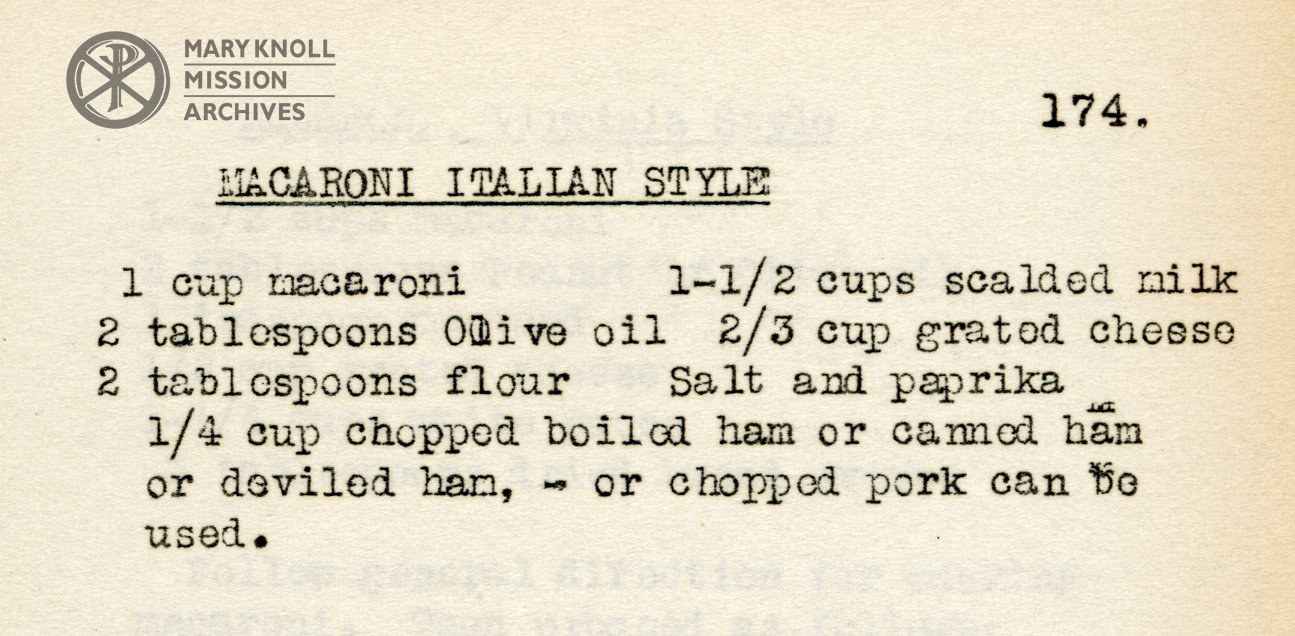
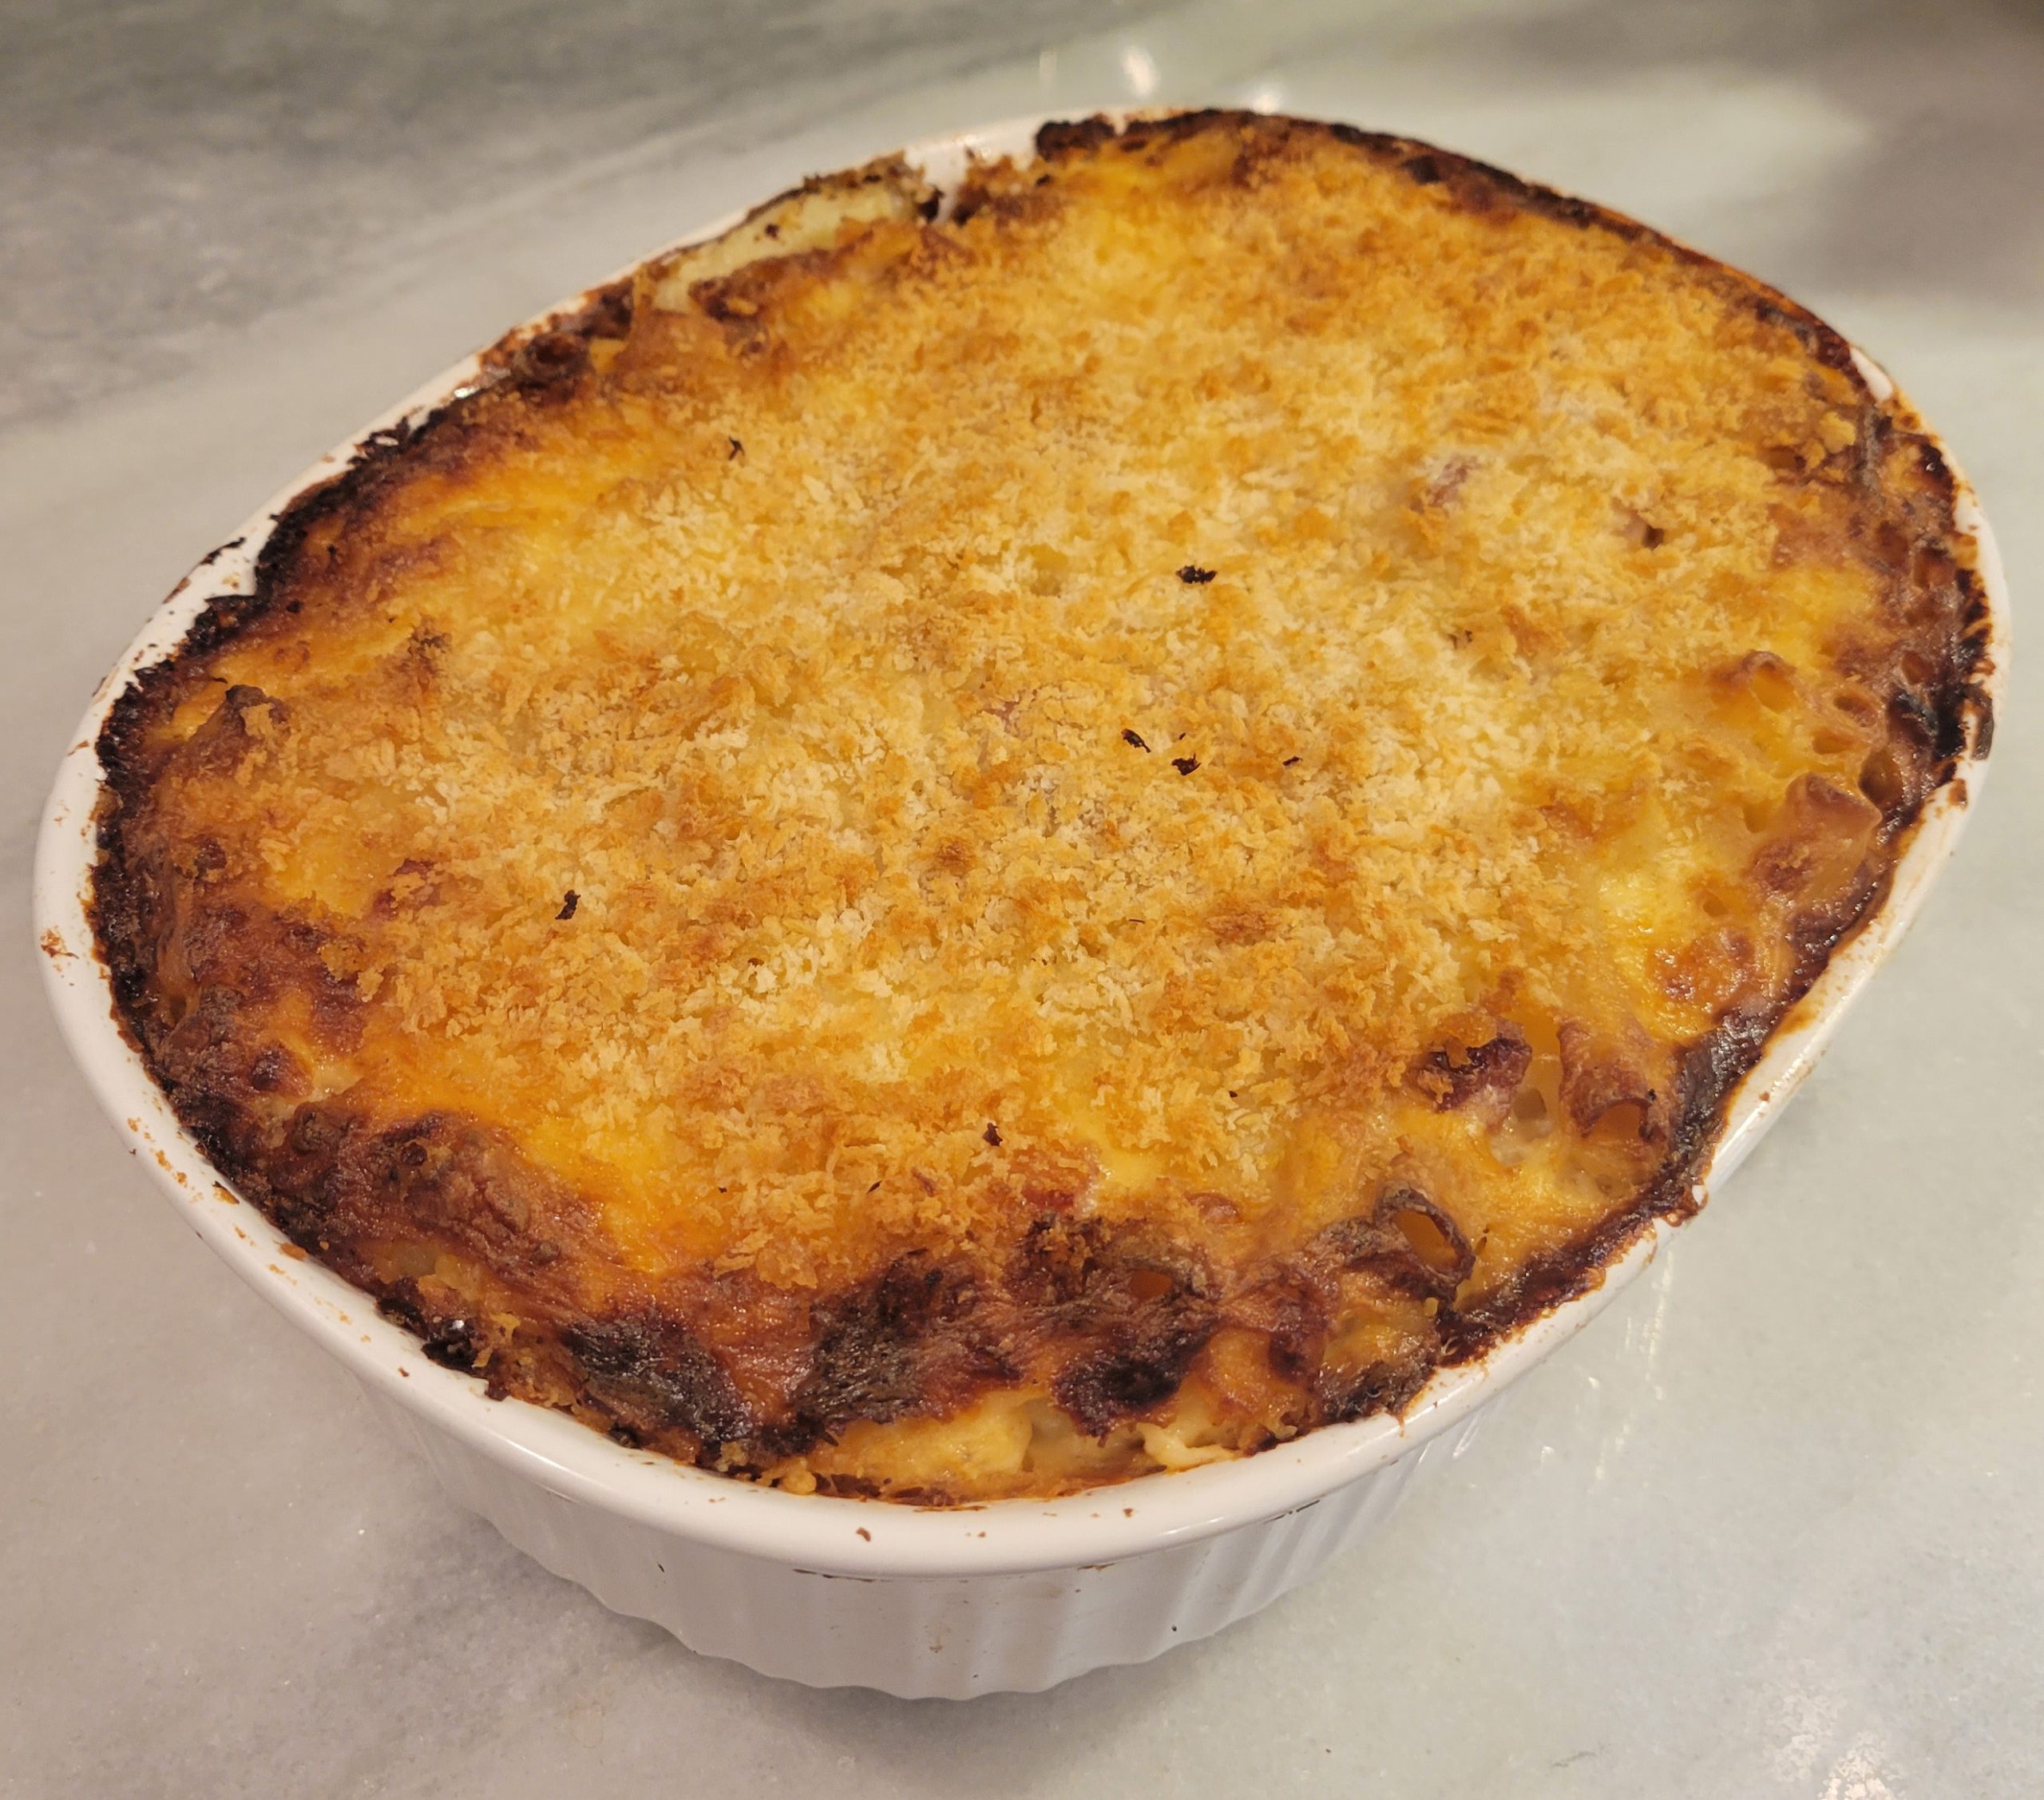
Warm, Comforting, and Especially Cheesy; This Mac and Cheese takes an American Classic and adds a twist of adding ham and using olive oil instead of butter for the sauce.
What Did We Think?
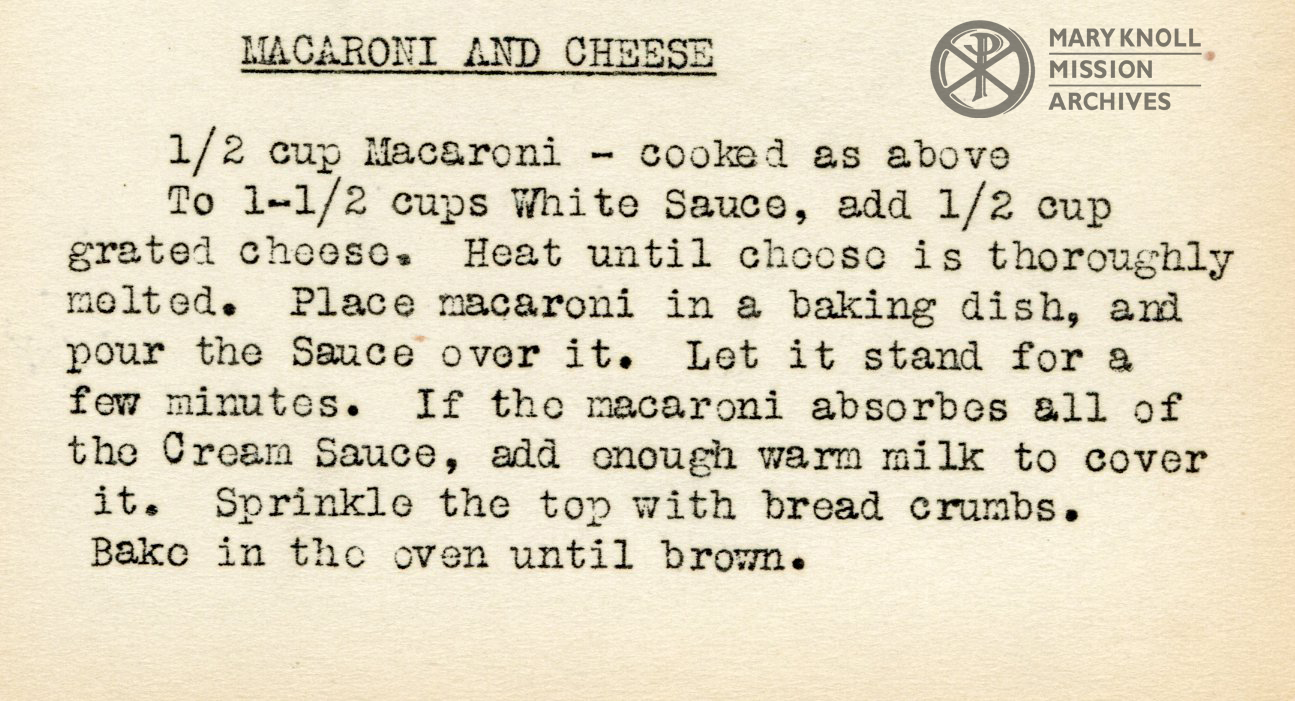
Another comforting dish from MMJ, though this time with a unique twist. I had intended to make just her regular Mac and Cheese, but with so many simple recipes I wanted to do something more intriguing. I have also provided her basic Mac and cheese recipe below and will talk about it in Chef’s Corner.
As for this iteration, I’m not exactly sure why she called it “Macaroni Italian Style”. She does not note a cheese change (like to mozzarella or parmesan) and the ham does not feel unique to Italian dishes. The sauce does use Olive Oil instead of butter, but it seemed to make hardly a difference flavor-wise. Whatever the reasoning, it still turned out delicious and had enough sauce to not feel dry after baking.
Chef’s Corner
First off, let’s discuss her classic mac and cheese. The recipe looks good, with the proper ratio of white sauce to cheese to make a cheesy sauce (Mornay if you want to be fancy). However, the amount of pasta is odd. She calls for 1/2 cup of macaroni (1 ounces dry) for 1.5 cups of white sauce, which is a 1:3 ratio. I normally do a 1:1 ratio when making mac and cheese, so this seems incredibly saucey. Even if it is being baked, it will be more of a casserole than what we know of mac and cheese. I’d suggest at least doubling the amount of pasta if you try it at home.
While we are on the topic of macaroni, I should note that the term has changed since MMJ’s time. Nowadays Macaroni usually means elbow pasta, but in reality Macaroni is just the old Italian word for pasta noodles. In 1920s America, Macaroni would have referred to these long tubes of dried pasta that one would have broken up to cook. If you want to fully replicate this recipe, I would suggest making and drying your own tube pasta, or using the much easier method of just getting ziti style pasta at the store.
Lastly I will touch on cheese, because MMJ does not specify which to use. I think this is purposeful, as who knows what kind of cheese you could acquire when on mission. If you want to make it, choose whatever ones you prefer. For my batch, I looked up the popular cheeses of the time and went for an aged swiss and a 3 month cheddar, which were the go-to cheese of 1920s America.
Chocolate Cream Pie
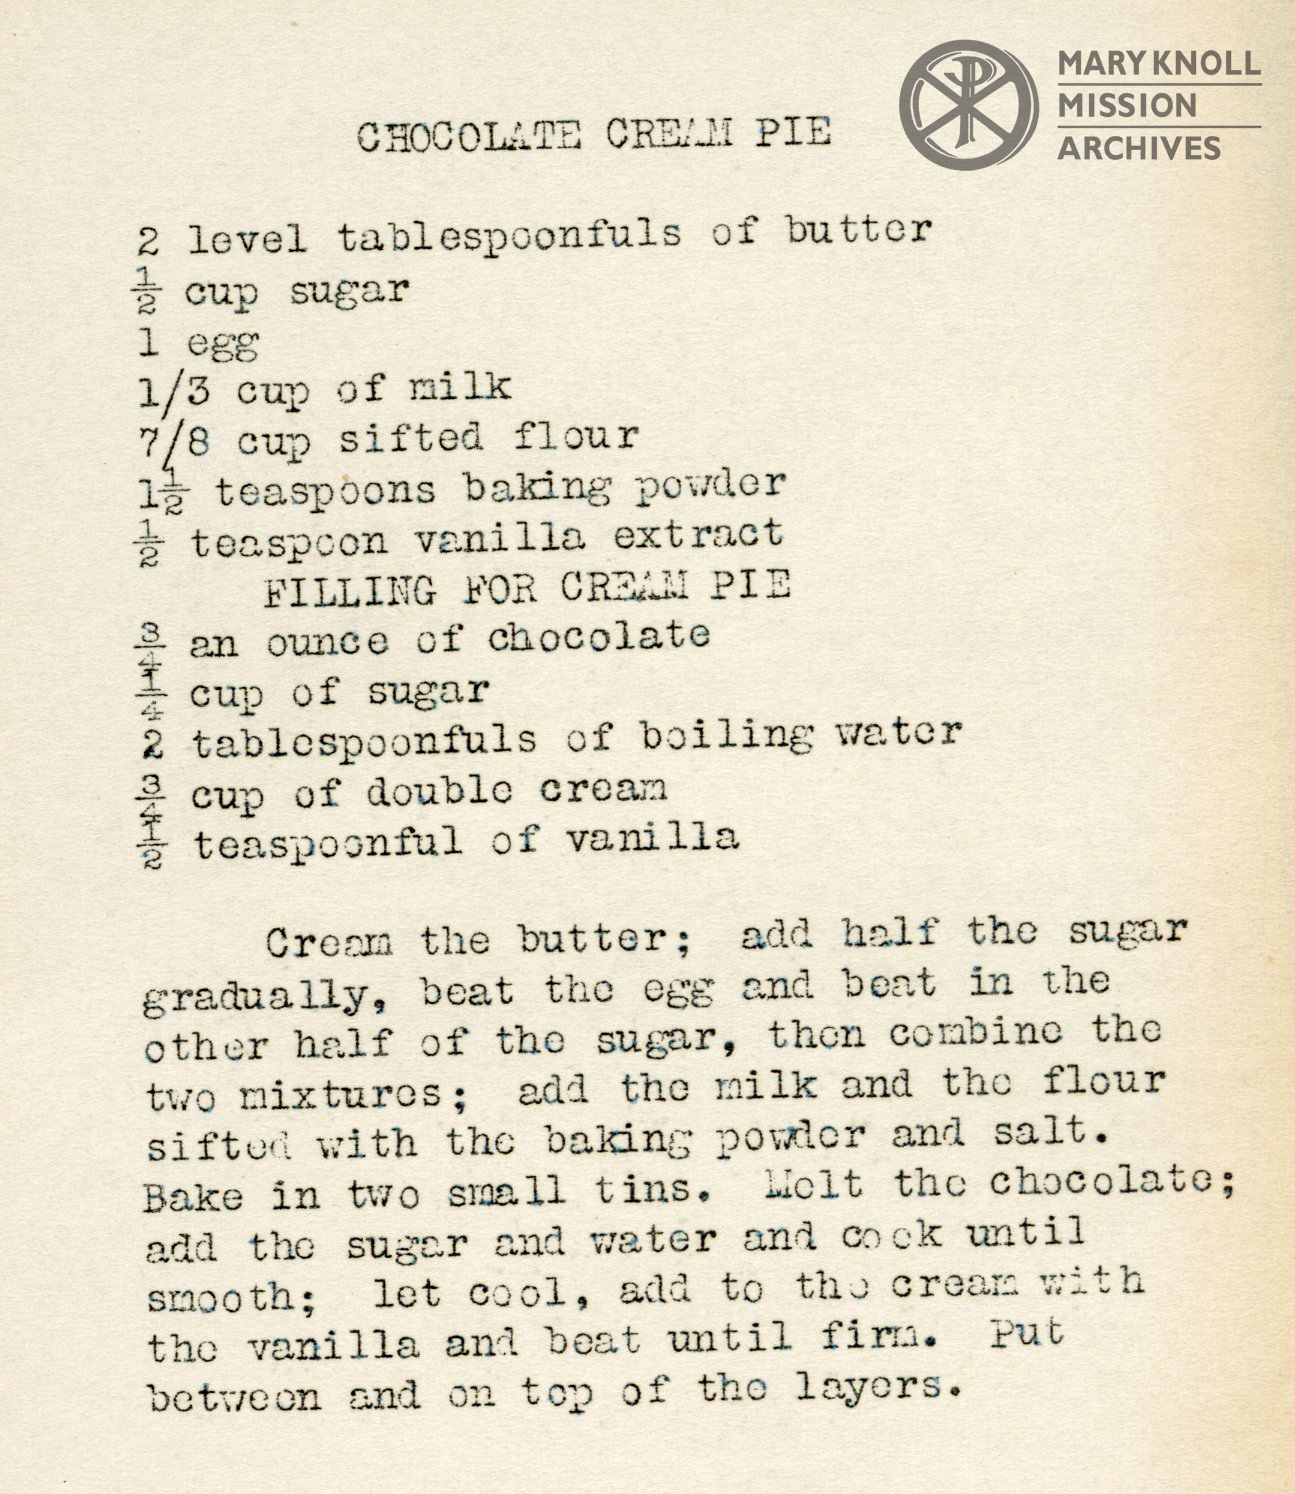
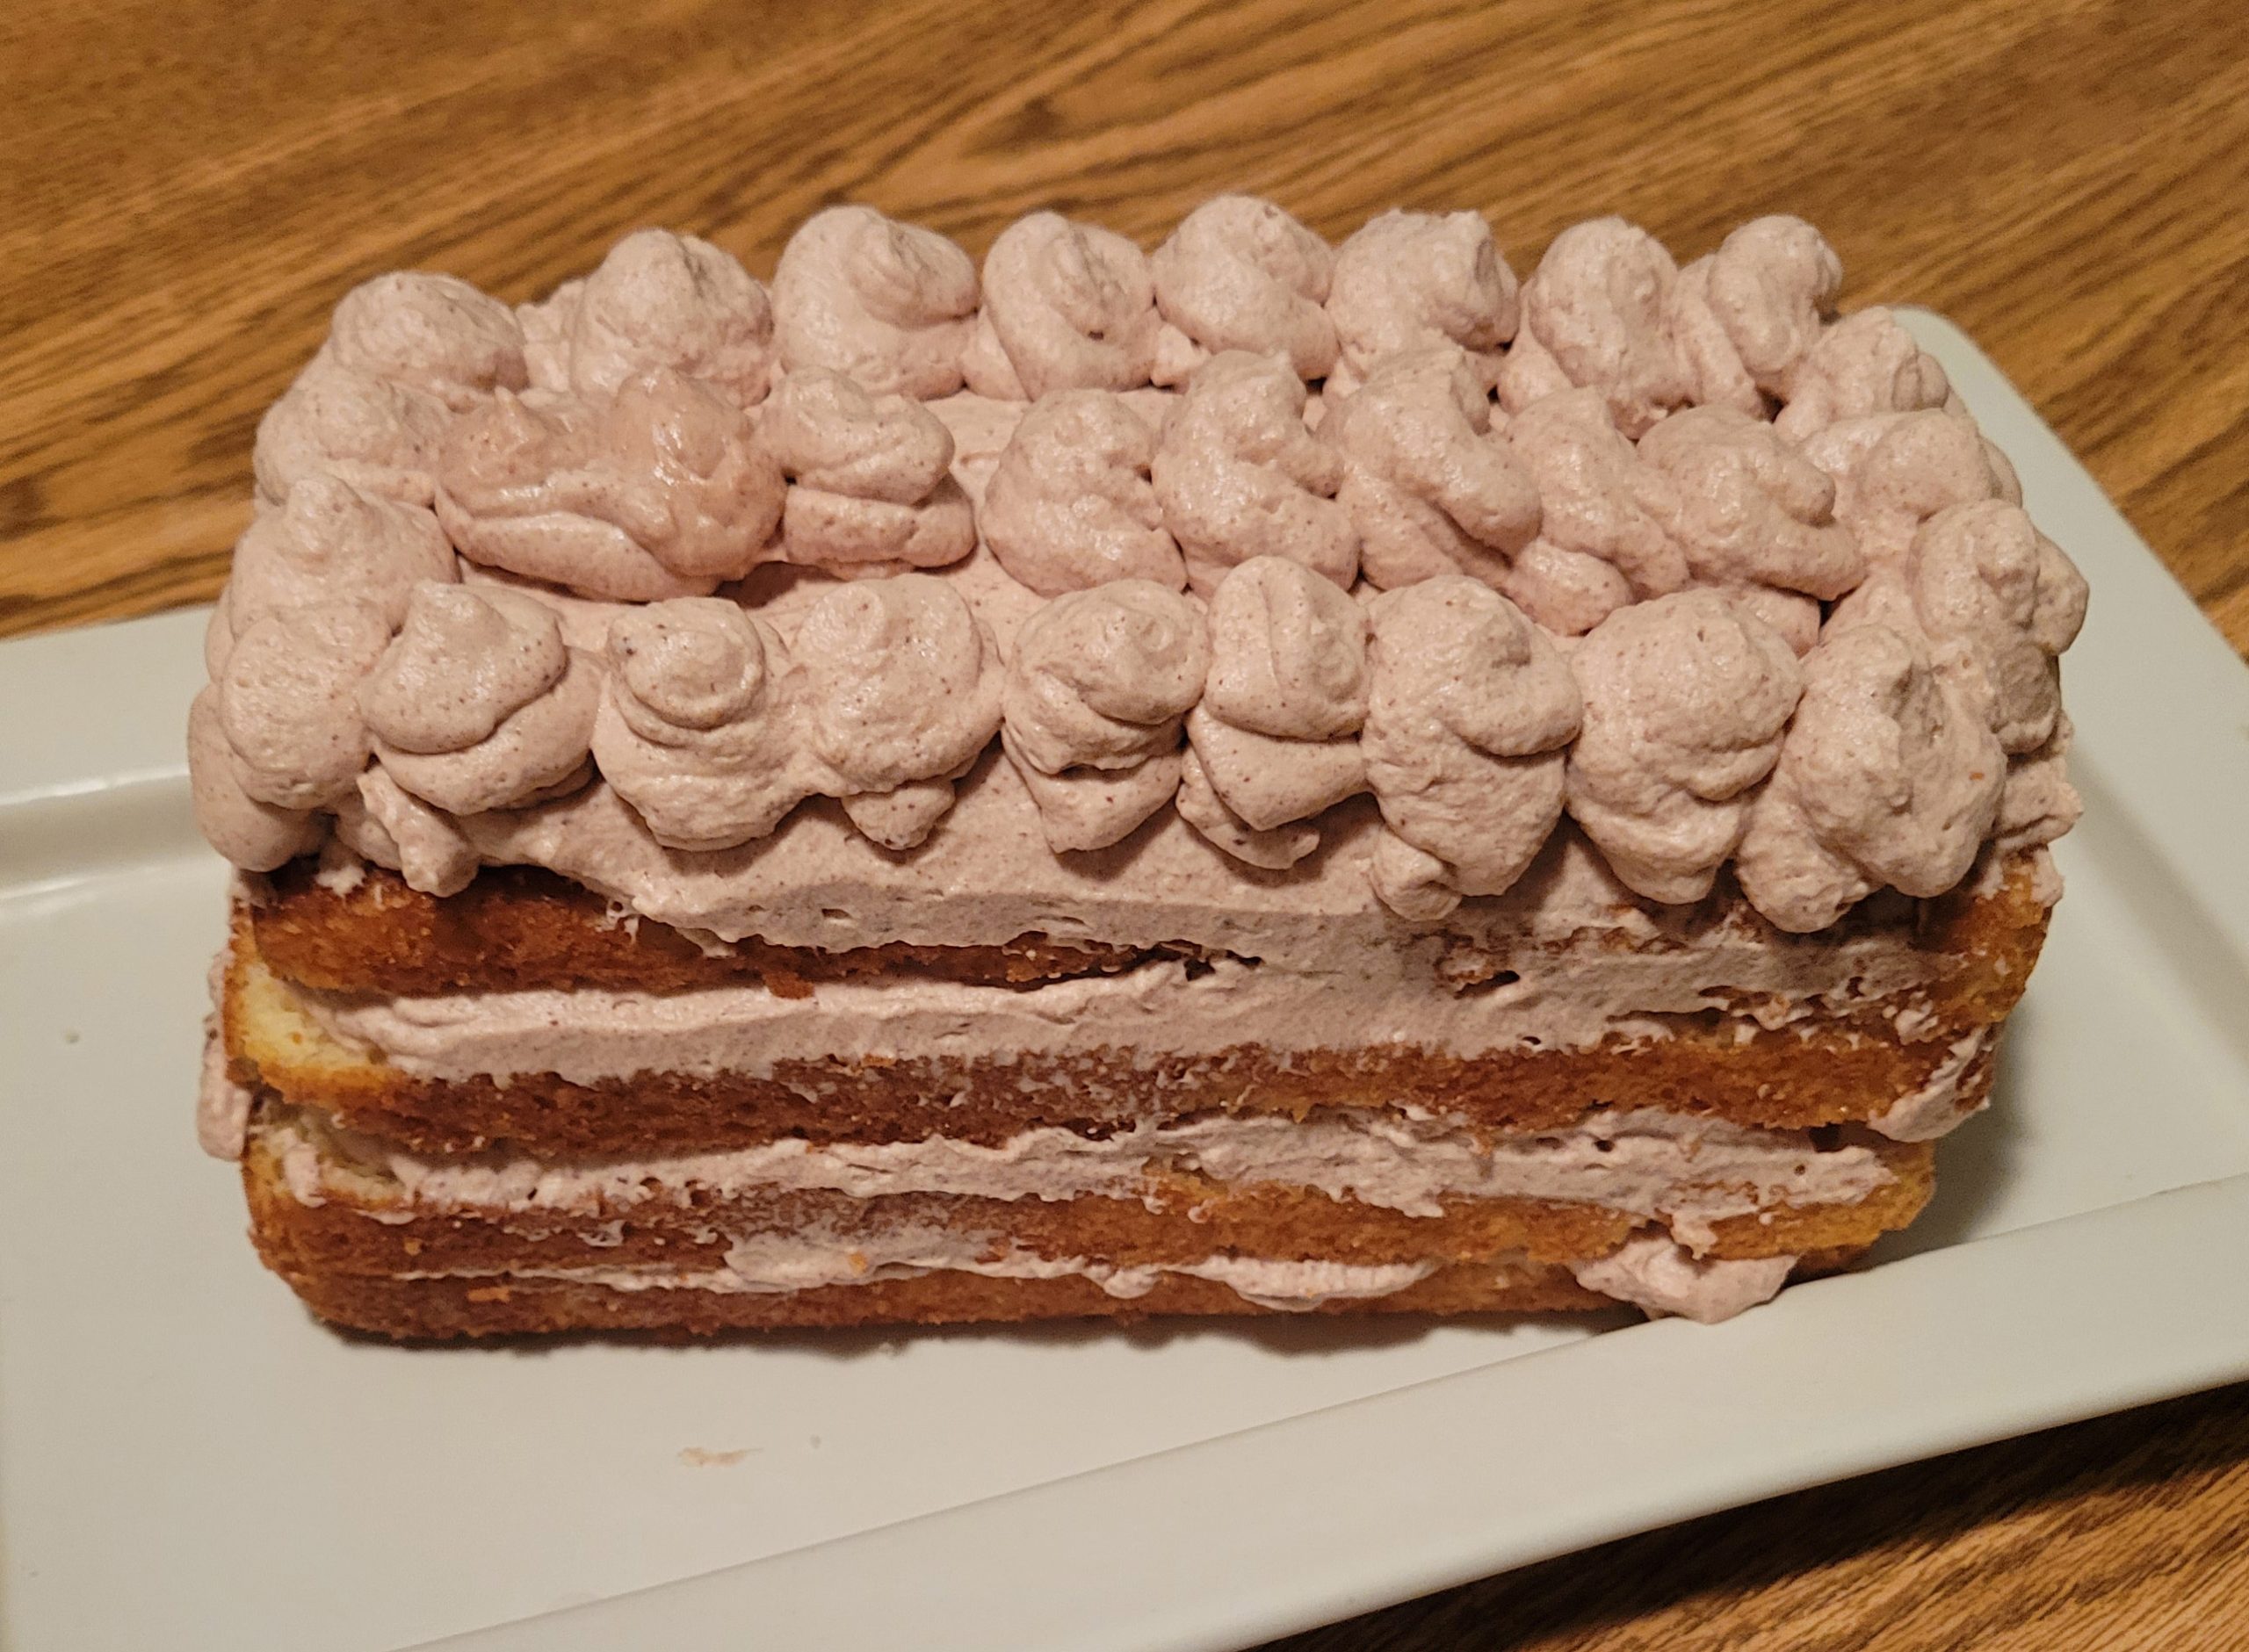
Sweet and Chocolatey, But It’s Not Pie; This recipe functions more as a dry cake with whipped cream, rather than a pie. Still really good though.
What Did We Think?
Let’s be clear, this recipe tasted really good. Unlike the Moist Chocolate Cake, you could taste the chocolate in this recipe! The cake is a bit on the dry side, but it is made up for by the amount of cream in the recipe. We all really enjoyed it, but we are a bit perplexed at the name. It was definitely Chocolatey and Creamy, but it definitely was not a Pie. Check out my Chef’s Corner to hear my thoughts on the whole matter.
Chef’s Corner
Let’s talk about this whole “cake vs pie” situation. In fairness to MMJ, my cakes should have been thinner. I had to cut each in half to make an appropriate cake-to-cream ratio. Our running theory is that a thinner layers would create a more pie-like crust than what I created. In my defense, all MMJ told me to use was “two small tins”, which is rather vague. I settled on using two medium loaf pans for a double recipe, but the cake rose more than I expected. I would suggest having the batter come up to about 1/3 of an inch in the pan, but really use trial and error to see what size will work for you. They taste great either way, so there is no problem having more cake!
One last note, this time about the chocolate cream. A general rule in baking is that chocolate and water Do Not Mix; they really don’t like each other. Sugar helps stabilize things, but the mixture tends to get grainy (especially when put into a cream). For this recipe, there are two ways around this: 1) Mix the Sugar and Water together to make a syrup, then put it in the chocolate; or 2) Just use half-as-much cream instead of water. The first method stays true to the recipe, but works better to stabilize the chocolate. The cream will look grainy, but it will taste smooth which is what is really important. The second method is a more modern way which will create a very smooth texture due to the fat in the cream. It shouldn’t effect the final mixture too much, so it should be a fine substitute.

